How to Run Diagnostics on Windows 10

Do you want to run diagnostics on Windows 10 operating system? Let’s read the give below solution to know how to perform diagnostics on Windows 10 step by step with sceenshots.
How to Run Diagnostics on Windows 10 Step by Step
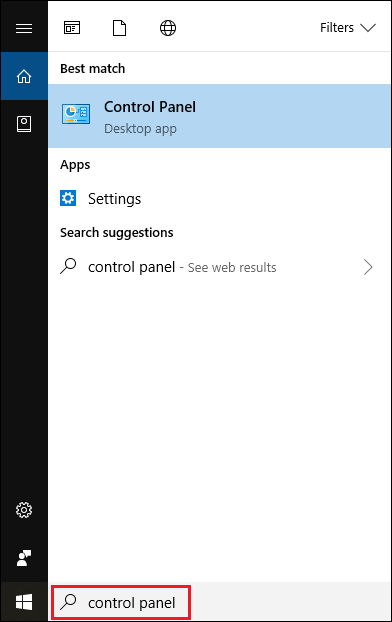
- Type “Control Panel” on Windows search bar. Click on “Control panel”.
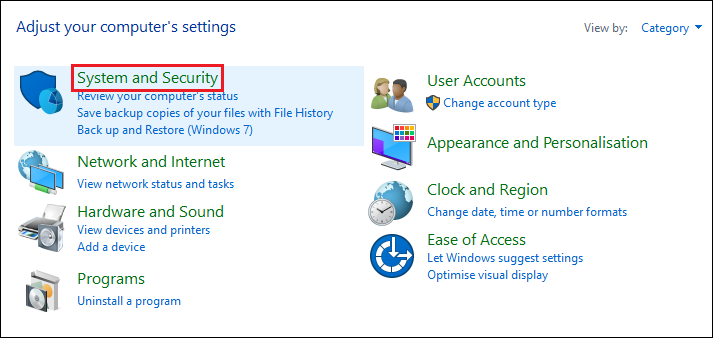
- Search and Hit on “System and Security”.
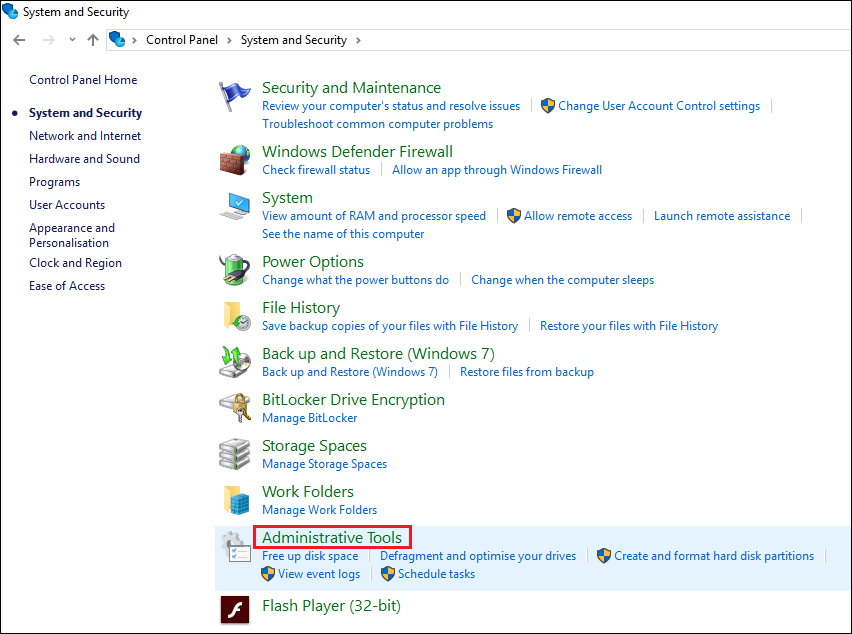
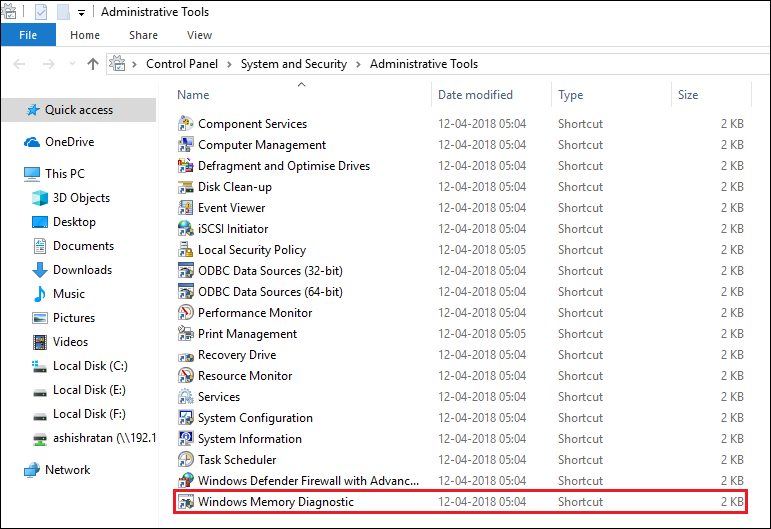
- Hit on “Administrative Tools”.
- Click on “Windows Memory Diagnostic”.
- Select “Restart now and check problems” option.
Short Trick: Press Windows Key + R and type mdsched.exe

Once your machine restarts, it will open in Windows Memory Diagnostics environment. In this mode, the application will run all the scans available in the Basic mode.
What if Diagnostic Troubleshooting Tool Does Not Work on Windows 10, 8.1, and 7
The Troubleshooting Assistant has been part of the Windows operating system for years. With Windows 10 Diagnostic tool, you can quickly verify that certain components of your operating system are working properly. Unfortunately, some users have reported that the Diagnostic Troubleshooter no longer works error message on their Windows 10 PC. Since this can be a big problem, today we’ll show you how to fix it.
The Diagnostic Troubleshooting Wizard no longer works on Windows 10
Solutions
- Reinstall the Microsoft .NET Framework
- Scan your PC for malware
- Check if the required services are running
- Use registry editor
- Temporary deactivation of the .NET Framework
- Create and run a batch file
- Run the sfc scan
- Fix – Diagnostics Troubleshooting Wizard no longer works on Windows 10
Solution 1 – Repair Microsoft.NET Framework installation
.NET Framework is used for all types of applications on Windows platforms, from system applications to video games. Almost every Windows operating system has .NET Framework installed, but sometimes this framework can cause all sorts of problems. According to the user, this Framework for Diagnostic Troubleshooting Wizard may have been responsible for working error message. To resolve this issue, you must repair the .NET Framework installation. This is a simple process, and to do this you must follow these steps:
- Press Windows key + S and enter programs. Select programs and functions from the result list.
- When Windows opens programs and functions, search for and select Microsoft.NET Framework.
- From the menu above, choose Change or Repair.
- Follow the instructions to repair your .NET Framework installation.
- After completing the repair process, verify that the problem is resolved.
If the problem persists, we recommend that you download this tool (100% safe and tested by us) to fix various PC issues such as corrupted files, malware and hardware errors.
Solution 2 – Reinstall Microsoft.NET Framework
As mentioned earlier, the .NET Framework installation may be the cause of this problem, and if repairing the .NET Framework installation does not resolve the issue, you will need to reinstall it. To do this, follow these steps:
- Open the application settings by Windows key + I press.
- When Settings app opens, go to System >> Apps & Features.
- The list of installed applications will now be displayed.
- Locate Microsoft.NET Framework , select it and choose Uninstall from the menu.
- Follow the uninstallation process to remove the .NET Framework.
- After the .NET Framework has been removed, download and install the following version of the Microsoft Web site.
If you do not want to use settings to remove the .NET Framework, you can also use the Programs and Features section . Just open it as in the previous solution, select the .NET Framework and choose Uninstall. After removing and reinstalling the .NET Framework, verify that the problem is resolved.
Solution 3 – Scan your PC for malware
Sometimes malicious applications interfere with the core components of Windows 10, and they can also cause the Diagnostics Troubleshooter to stop working . If you see this message, perform a detailed scan of your system with your antivirus program. In addition to your antivirus, you can use BitDefender or a similar tool to search for malware. After removing the malware, verify that the problem persists.
You can try BitDefender here.
Solution 4 – Check if the required services are running
Like any other Windows component, the Diagnostic Troubleshooting Wizard relies on certain services to run properly. However, if these services are not started or configured incorrectly, you may experience problems with the Diagnostic Troubleshooter. To check the status of your services, you must do the following:
- Press Windows key + R and enter services.msc . Press Enter or click OK
- When Windows Services opens, locate the Diagnostic Policy Service and double-click it.
- Make sure that Service Status is set to Automatic on Running and Startup. If not, make the necessary changes. Click Apply and OK to save the changes.
- Now look for Diagnostic Service Host and Diagnostic System Host Services. Open their properties and make sure they are both running and that their startup type is set to Manual.
- After making the necessary changes, close the Windows Services and see if the problem is resolved.
By default, all these services should be running, but sometimes the status and startup type may change because of installed applications or because of some other computer problem, so check that all these services are running properly.
Solution 5 – Use registry editor
Before we begin, we must mention that using Registry Editor can potentially be dangerous and cause problems with your Windows 10 installation. It is recommended that you be careful when using Registry Editor. It is also a good practice to export your registry and use it as a backup in case something goes wrong. To edit your registration, you must do the following:
- Press Windows key + R and type regedit.
- When Registry Editor opens, in the left pane , navigate to HKEY_LOCAL_MACHINESOFTWAREPoliciesMicrosoftWindowsScriptedDiagnostics.
- Right-click the ScriptedDiagnostics button and select Delete from the menu.
- Then find the key ScriptedDiagnosticsProvider and delete it as well. This button should be located just below the ScriptedDiagnostics button.
- When finished, close the registry editor and see if the problem is resolved.
If you can not find these keys in your registry, it’s probably best to simply skip this solution.
Solution 6 – Temporarily disable the .NET Framework
As we have already mentioned, so Metimes.NET Framework may cause the Diagnostic Troubleshooting Assistant to stop working error message will appear on your Windows 10 PC. To resolve this issue, you must disable the .NET Framework. To do this, follow these steps:
- Open the Programs and Features section.
- When the Programs and Features section opens, click Turn Windows features on or off.
- The Windows Windows features will now be displayed. Locate the .NET Framework in the list and disable it. If you have multiple instances of the .NET Framework, make sure you disable them all.
- Click OK to save the changes.
- Restart your PC.
- When Windows 10 restarts, repeat these steps, enable the .NET Framework, and save the changes.
- Restart your PC and see if the problem is resolved.
Solution 7 – Create and run a batch file
Batch files can be very useful as they allow you to execute multiple commands almost immediately. Before you can run a batch file, you must create it, and you can do so by following these steps:
1. Open Notepad.
2. When Notepad opens, add the following lines:
- @echo off
- net stop wuauerv
- cd% system root%
- SoftwareSales SoftwareSales.old
- net start wuauserv
- Net stop bits
- Net start bits
- net stop cryptsvc
- cd% systemroot% system32
- ren catroot2.old
- net start cryptsvc
- regsvr32 Softpub.dll
- regsvr32 Wintrust.dll
- regsvr32 Mssip32.dll
- regsvr32 Initpki.dll / s
- echo reboot the computer
- Shutdown.exe -r -t 00
3. Click File >> Save As.
4. Now set Save as type to All Files and set the file name to update.bat . Click Save to save the file.
5. Find the update.bat file that you just created, right-click it and select Run as administrator . After all commands have been executed, your PC restarts.
After restarting your PC, check if the problem is resolved.
Solution 8 – Start the sfc scan
If your Windows 10 installation is damaged, you may experience such problems on your PC. One way to fix these problems is to run sfc scan and have your PC scanned. This scan will fix any damaged Windows 10 components and hopefully fix the Diagnostics Troubleshooter that no longer works . To run sfc scan, do the following:
- Open Command Prompt as administrator. To do this, press Windows key + X to open the Win + X menu and select Command Prompt (Admin).
- When the prompt opens, type sfc/ scannow and press Enter.
- Wait while your computer is being scanned. If there are problems with your Windows 10 installation, they should be fixed automatically.
The Troubleshooting Wizard is an important part of Windows 10, and if you ‘ve got the Troubleshooting Assistant that stops working , be sure to try repairing the .NET Framework installation. If that does not work, you can try any other solution from this article.
Related Article: Learn how to resolve Blue Screen Of Death Error in Windows 10 quickly.