Steps to regain hyper V VHD file data
Step 1
Start Menu » Programs » SysTools Hyper-V Recovery » SysTools Hyper-V Recovery.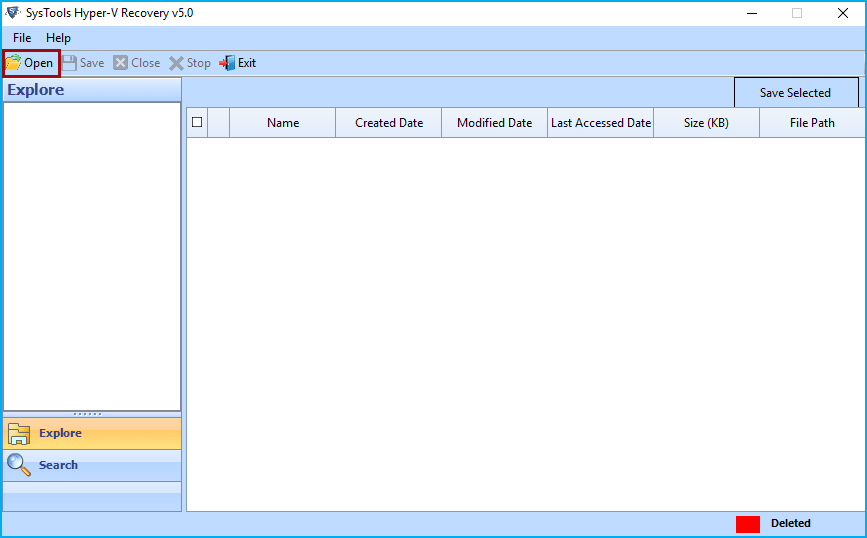
Step 2
Browse the file in your system for recovery and click on Open. 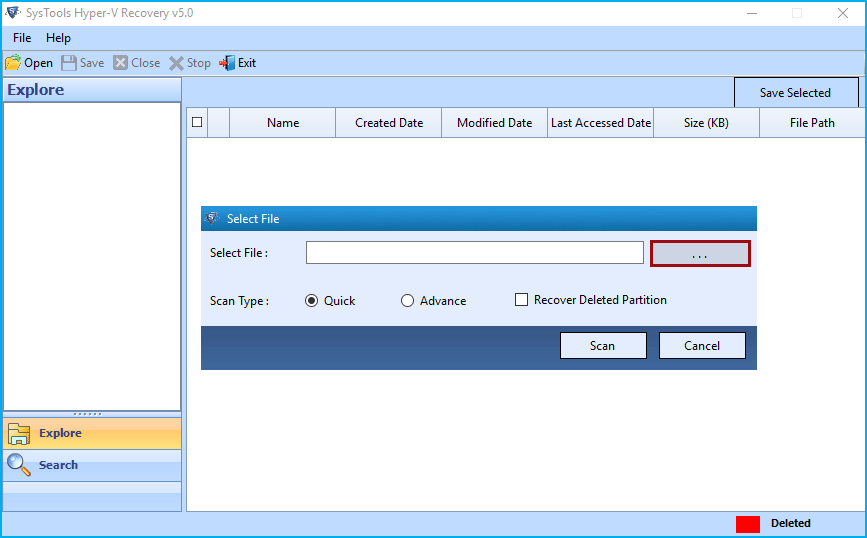
Step 3
Now, Select the partition that you want to recover.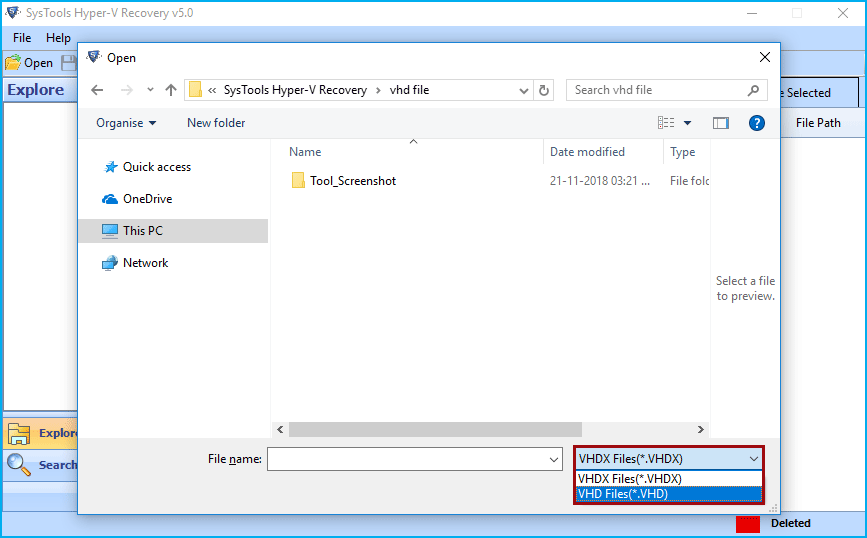
Step 4
To start scanning process, You can either select Scan or Scan Partition.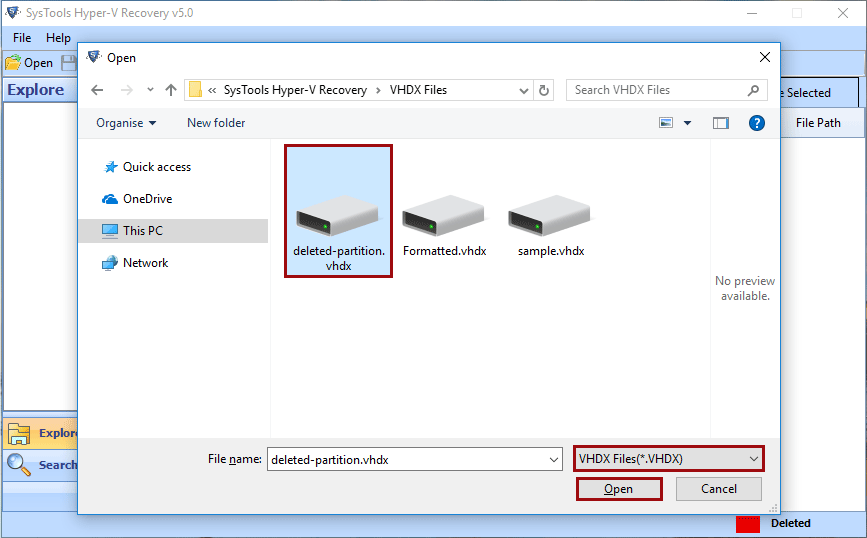
Step 5
Option of Quick Scan and Advance scan are for less corrupt and highly corrupt file respectively.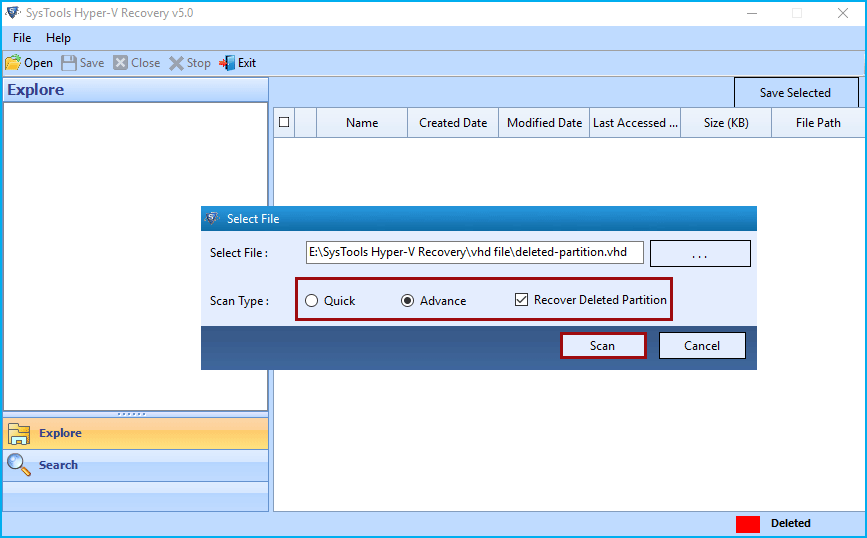
Step 6
If both the above modes failed due to any reason then You can go for Raw Scan.
Step 7
Then a window for confirmation of loading of file will appear. 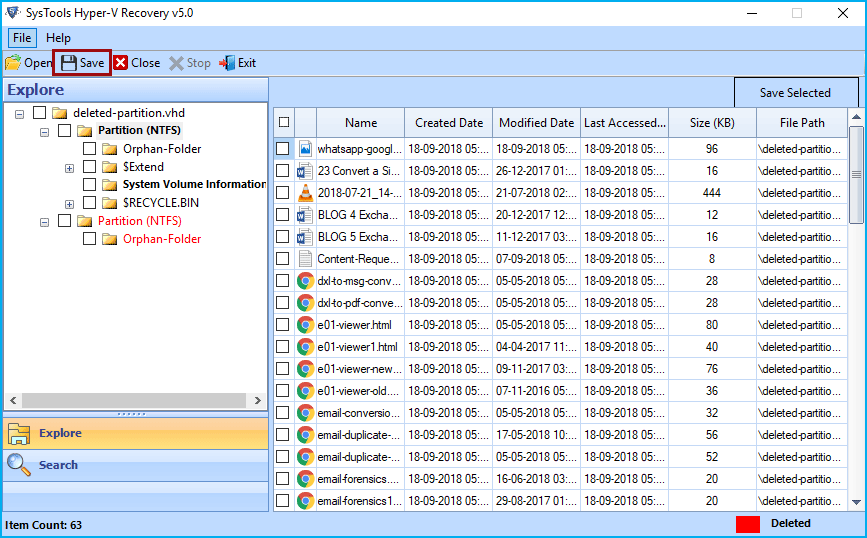
Step 8
If you want to rescan the file due to any reason then, You can move one step back. For that, Click on Back button.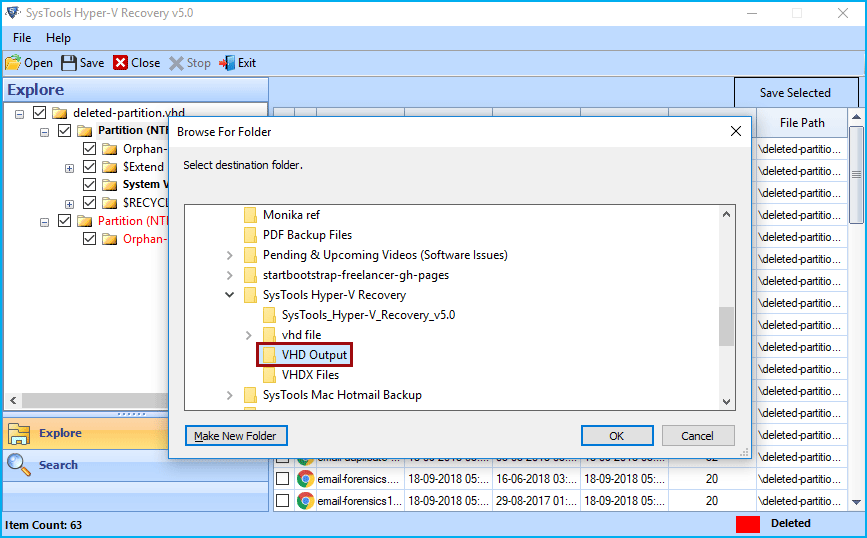
Step 9
Again, Select the partition and Click on Scan Partition.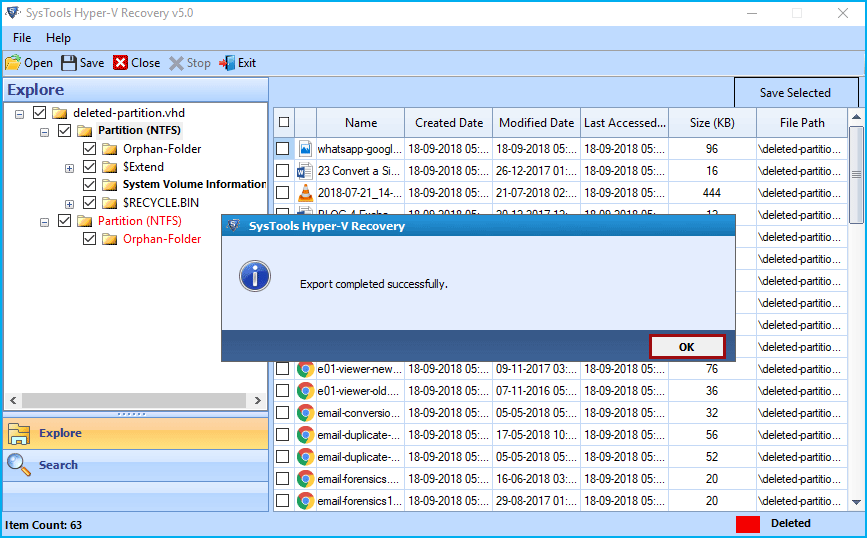
Step 10
Select No in case you want to Rescan the partition.
Step 11
Then, follow the same process by selecting any one from: Quick Scan, Advance Scan and Raw Scan.
Step 12
You will also find a search box to get any particular data of your choice from scanned VHD file.
Step 13
You will also be able to preview the data after scanning and before recovery of VHD file. Red mark on any folder shows that folder has been permanently deleted. However, it can also be recovered by VHD recovery tool.
Step 14
You can extract any file by right clicking on the file and click on extract.
Step 15
In the same way, You can extract the folders from left panel.
Step 16
Now, Click on Save button from navigation bar.
Step 17
Then, You can select the desired location to save the file on your machine.
Step 18
Then, A save report will appear confirming the extraction of data from file.
Step 19
You can navigate to the location on your PC accordingly.
Step 20
You will also be able to see the deleted items of Recycle bin.
Step 21
You can now move to any folder to view the data.