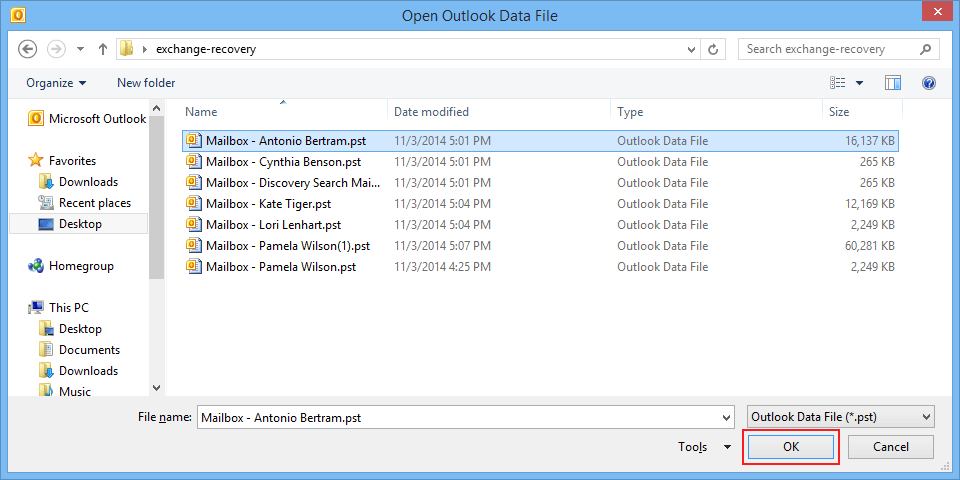
Guide on How to Recover Exchange Database
Step 1
In the very first step, download, install the tool. Now click on "Add File" to Browse files. 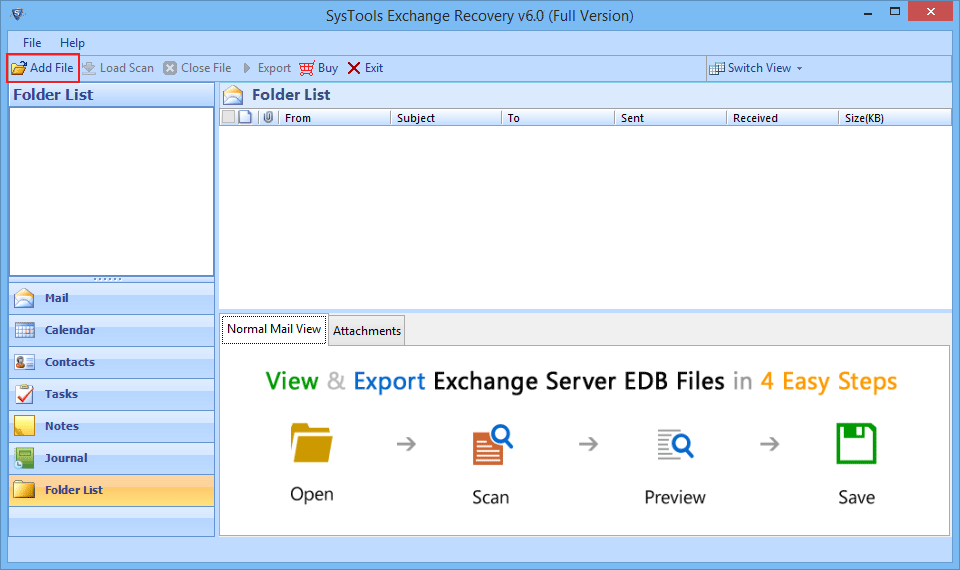
Step 2
The tool will scans selected Exchange database files and also show File, Size and Created On date during scan process. 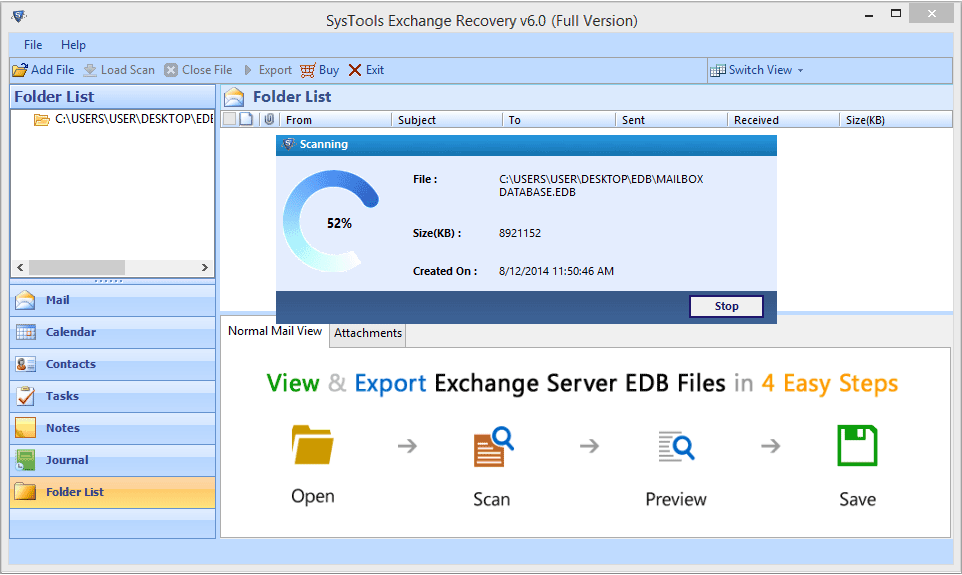
Step 3
Once scanning procedure gets over, the software preview entire mailboxes sequentially and a user can also preview the content of emails as well attachments by clicking on a particular message. You can also export a single message by right clicking on the message. 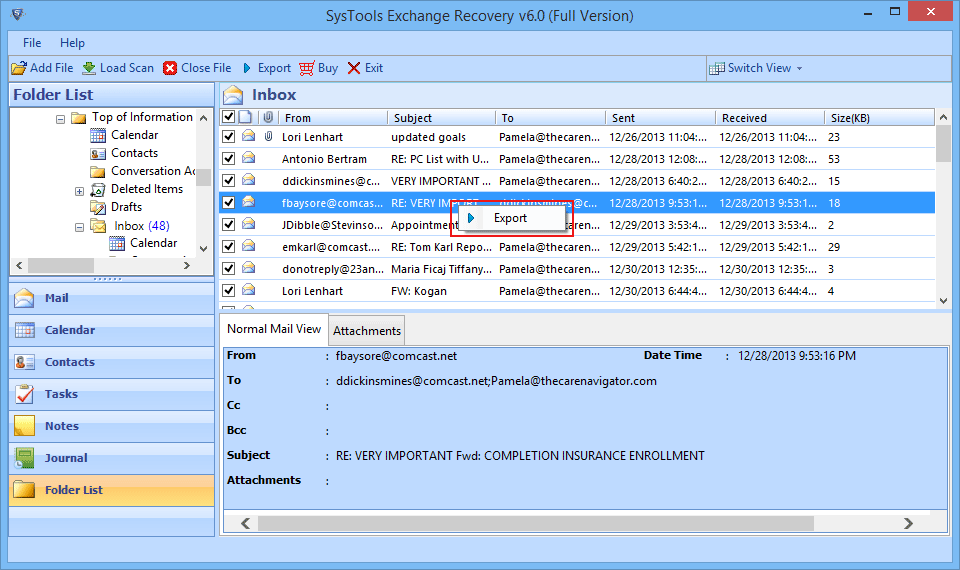
Step 4
Select a file format from Export options, Apply mail filter and Split Outlook file if required. Now provide Destination Path and Click on Export button. 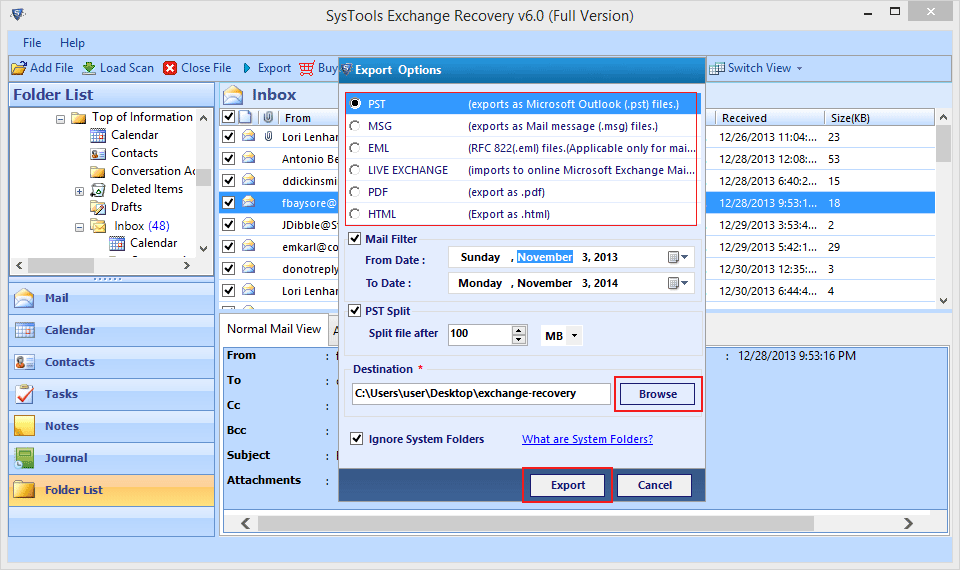
Step 5
The Software will start exporting mailboxes automatically and also shows folder name, Item Count and Destination path during the export process. You can Stop or Start exporting process if required. 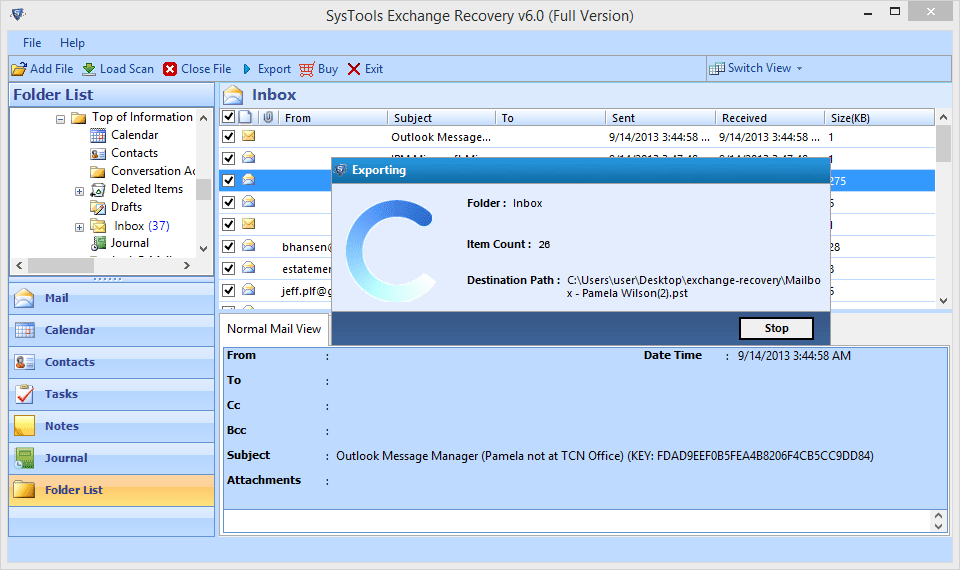
Step 6
Once Export process gets over, The tool will show you a confirmation message like- "Export Process completed successfully. 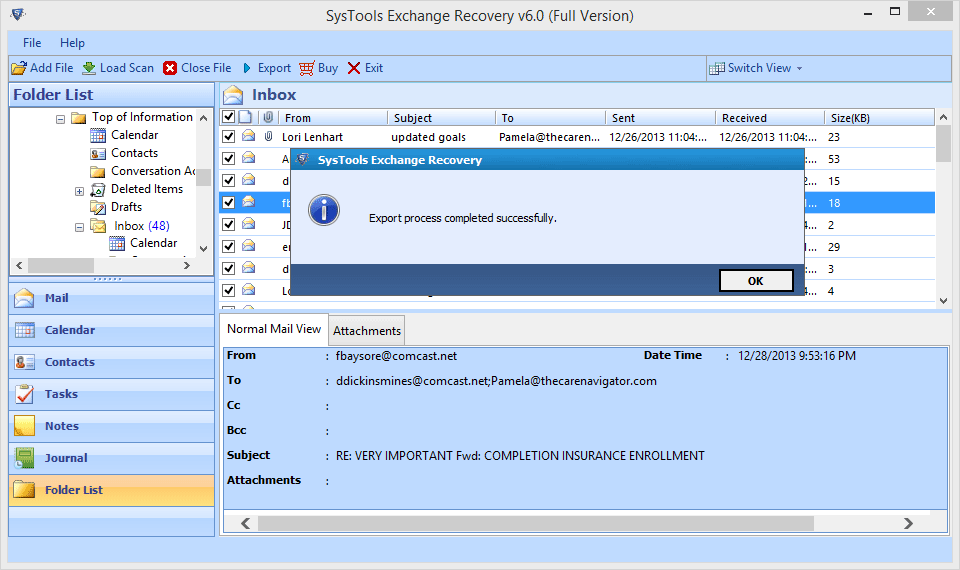
Step 7
You can browse desired location to save report file. Click on Save. 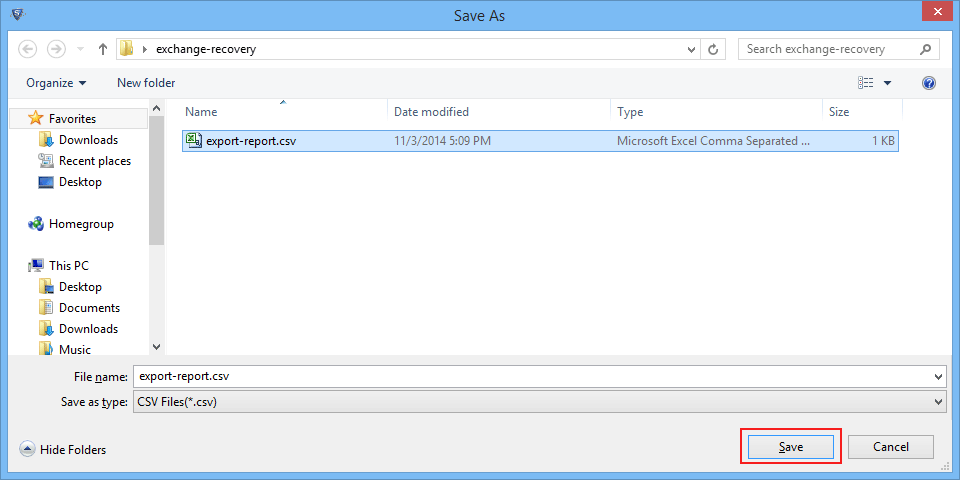
Step 8
Now, Using Microsoft Outlook, exported Outlook data file can be added. Click on File button to intialise addition of Outlook data file.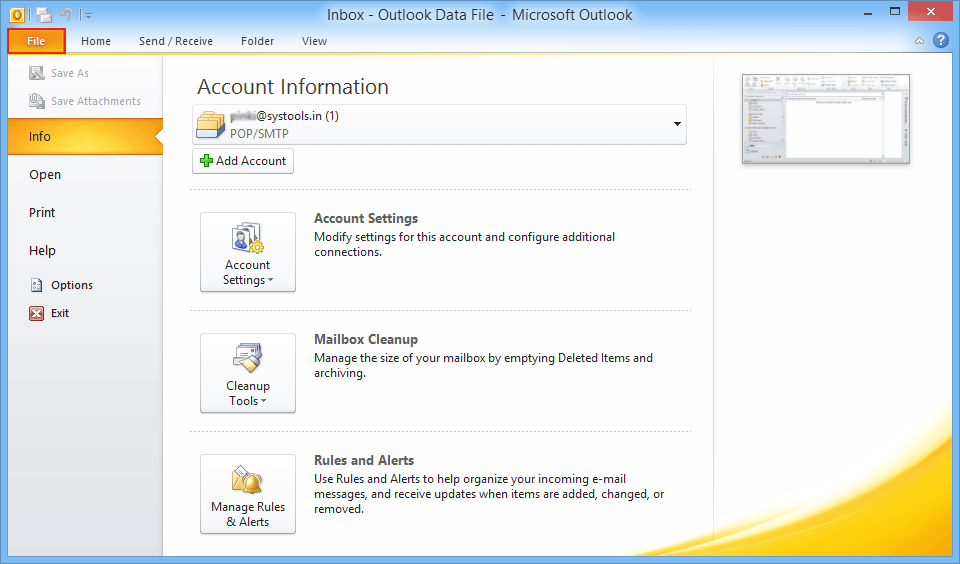
Step 9
click on Open & Export >> Open Outlook Data File to add Outlook file.. 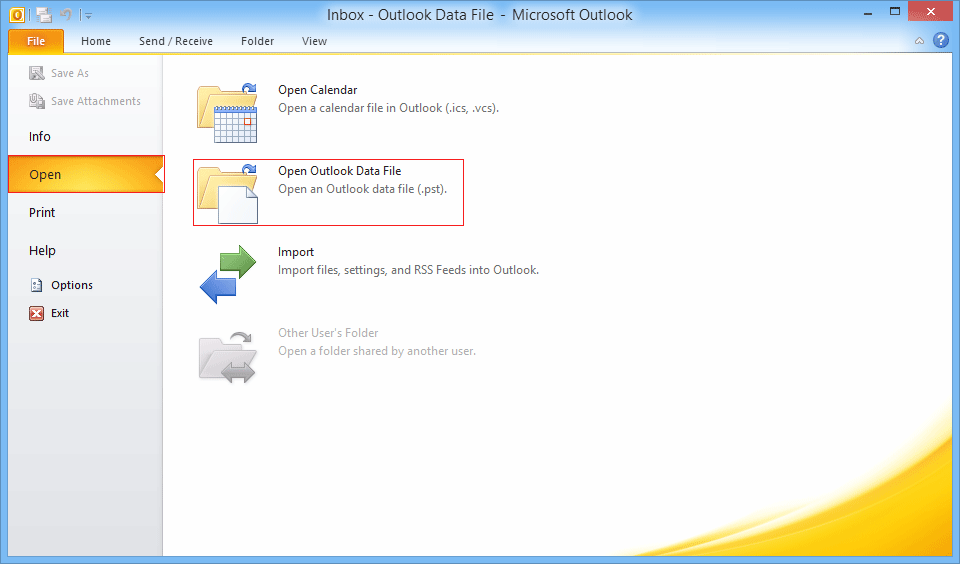
Step 10
Now, Browse for the desired location to store output file.Select the Outlook file and click Open to add the PST File to Outlook. 