Steps to Recover Corrupt or deleted data of VMDK file
Step 1
Go to Start » All Programs » SysTools VMware Recovery » SysTools VMware Recovery. Initially, window of the tool looks like as shown.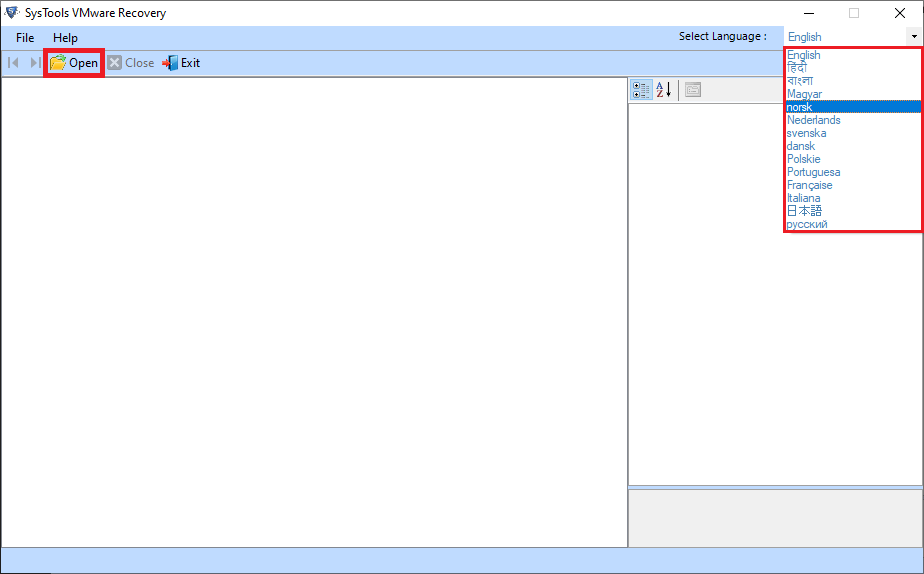
Step 2
To start loading of file in the tool, Click on Scan.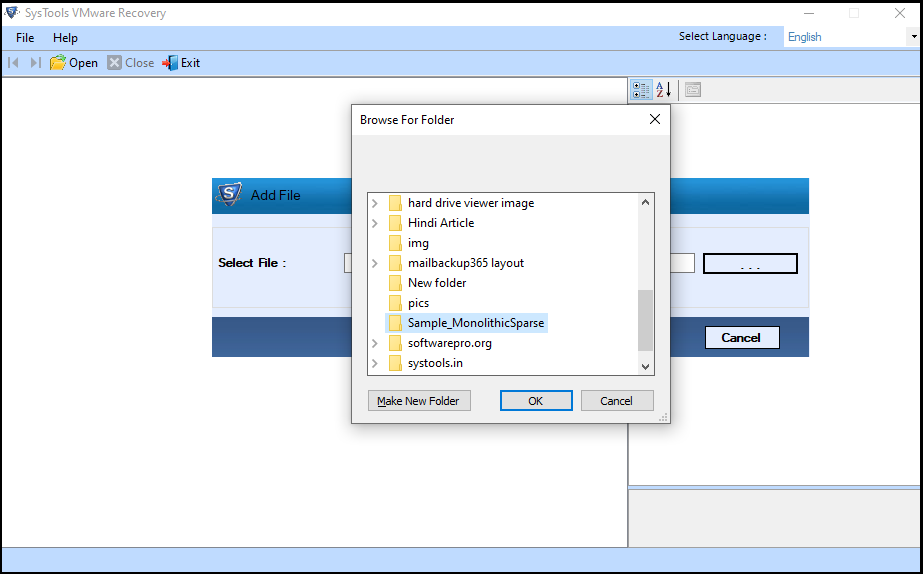
Step 3
For direct scanning of virtual machine, browse the location.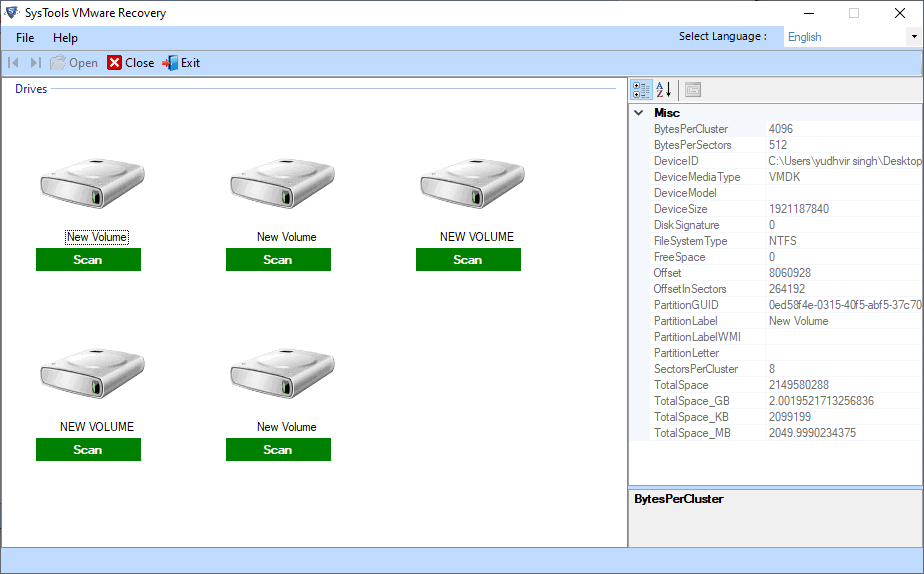
Step 4
After selecting VM folder, Click OK.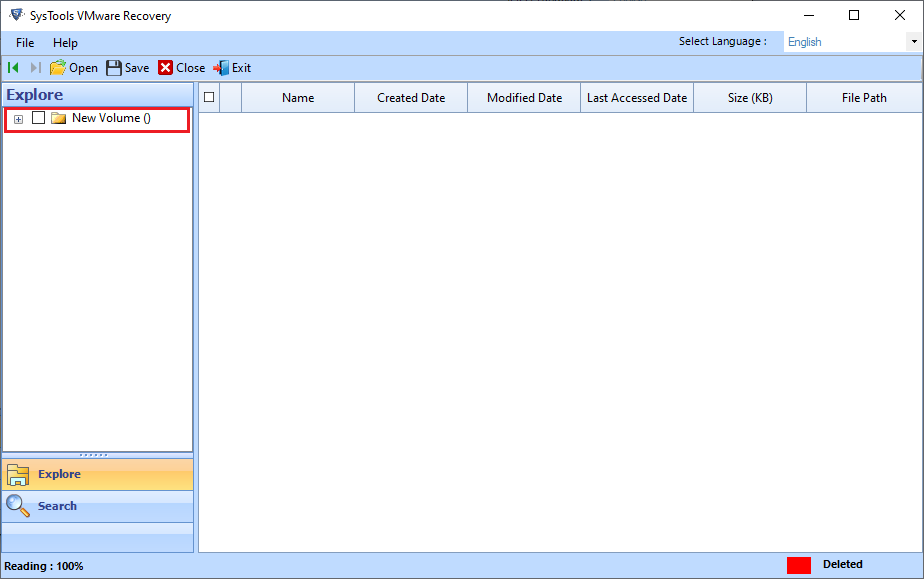
Step 5
Hit the Scan button.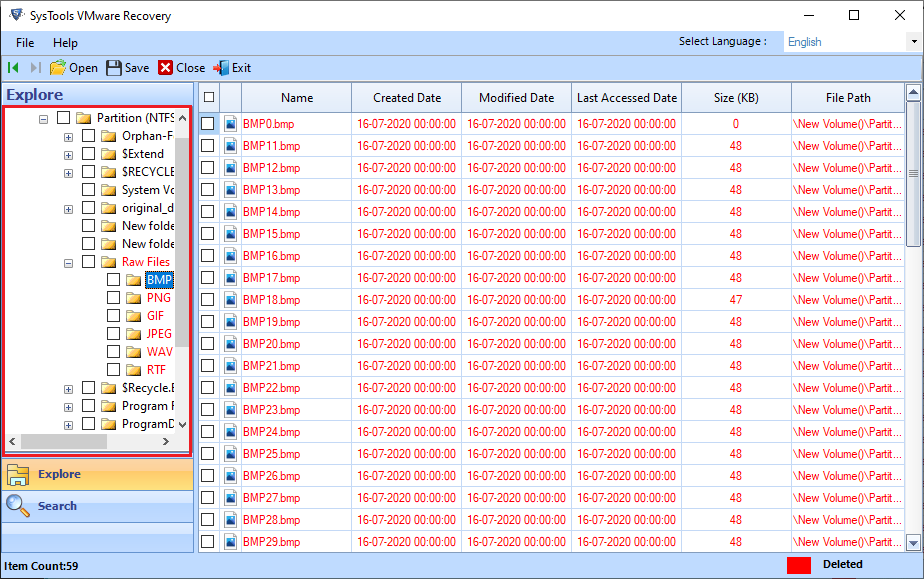
Step 6
You can save the generated report. Click on Save.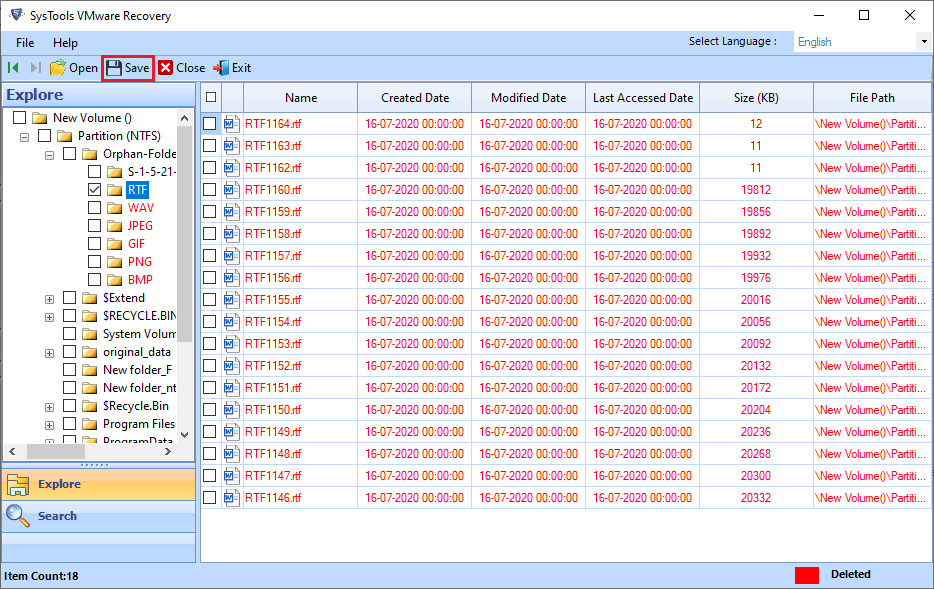
Step 7
Save the file with reasonable name.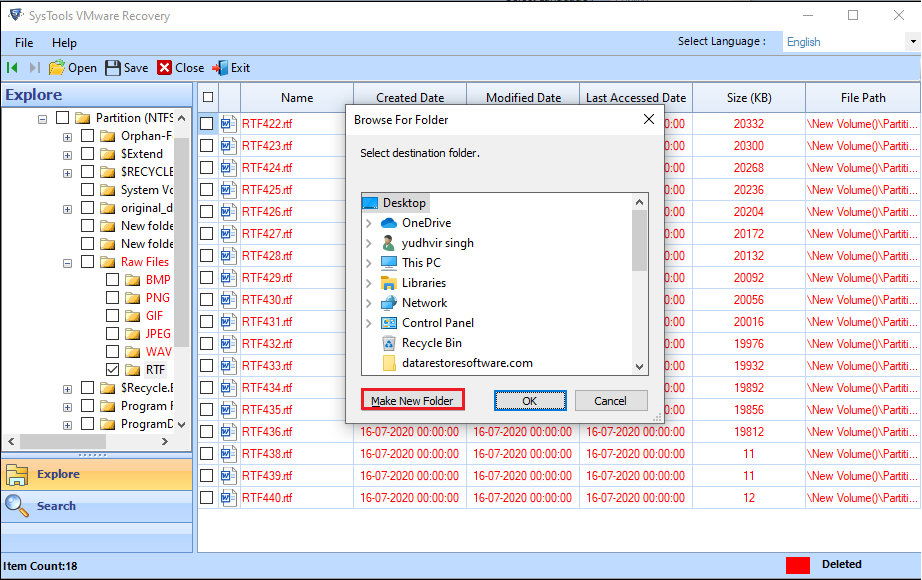
Step 8
A confirmation window will pop up. Click OK.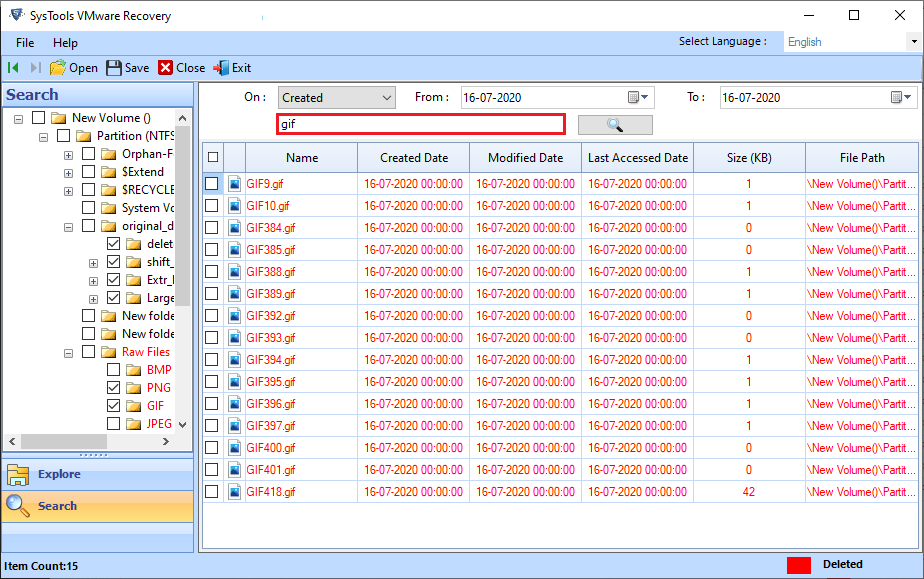
Step 9
Option to search the virtual machine either in All Drives or Specific Drive.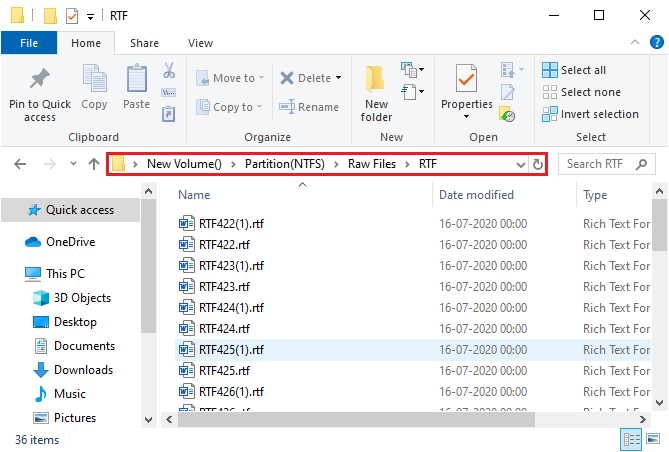
Step 10
List of all Virtual Machines in all drives will pop up.
Step 11
In case of scanning specific drive enable the option of Specific Drive.
Step 12
Then, Click on Scan button.
Step 13
A notification will pop up confirming the completion of scanning of file.
Step 14
After scanning, You can preview the data.
Step 15
File can be searched by its modification date, extension, creation date as well as by applying date ranges.
Step 16
After that search result will appear.
Step 17
Now, Hit the Extract or Export As Original to save the particular folder at desired location or previous location respectively.
Step 18
After that the export report generated. Details can be viewed by clicking the link.
Step 19
After viewing the report, You can save it in CSV format.
Step 20
Provide desired name to the report.
Step 21
Confirmation window will appear after saving the Export Report. CLick OK .