Simple Product Guide to Use Tool
Step 1
Follow Start menu >> Programs >> SysTools SharePoint Recovery >> and Sharepoint Recovery Tool will be opened 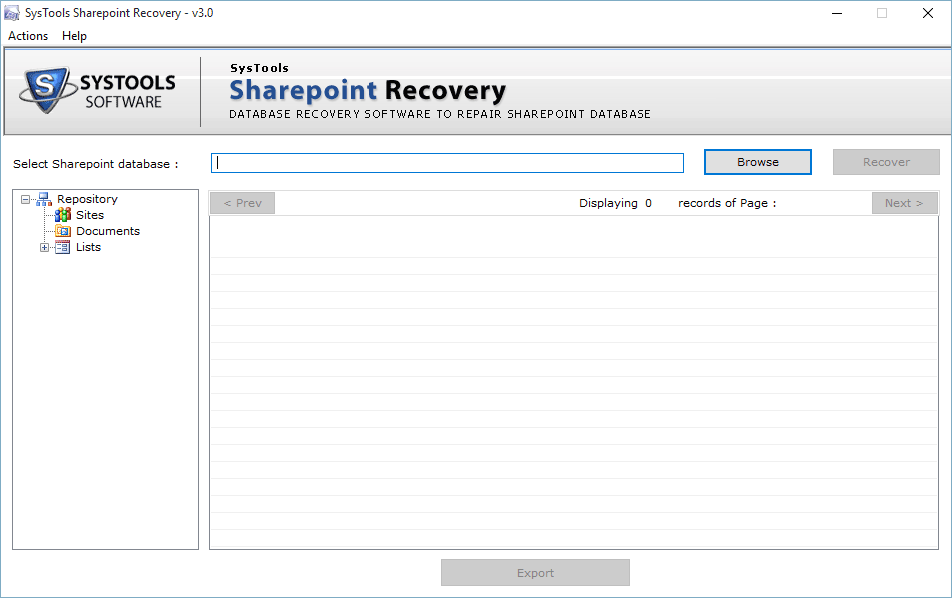
Step 2
Hit the Browse button to select the file.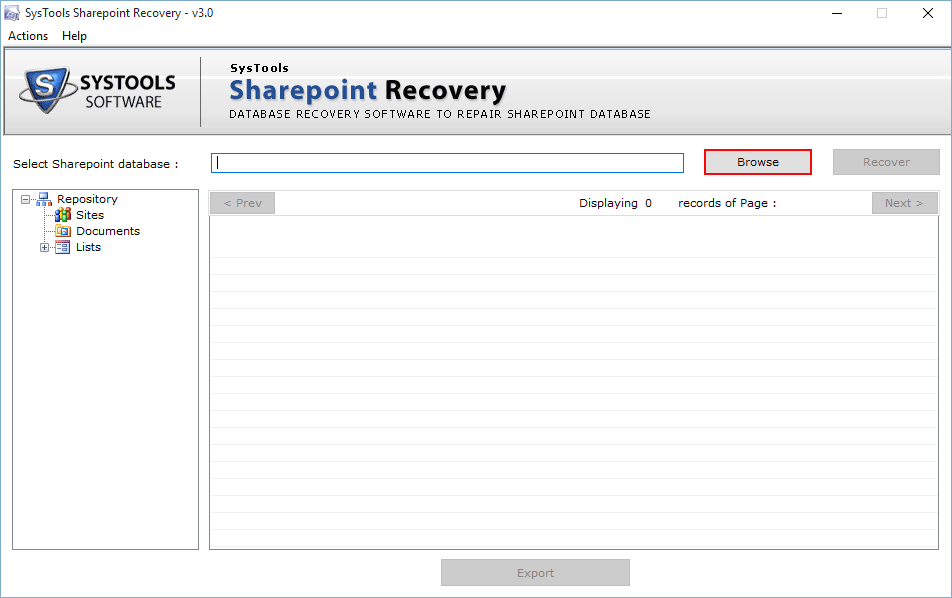
Step 3
Select the file from the existing location and Click Open. 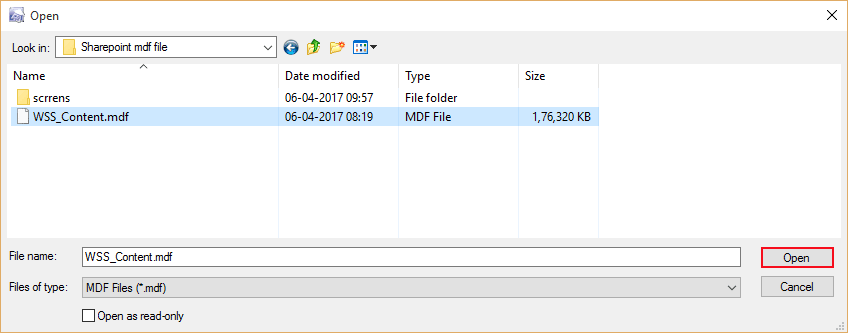
Step 4
Click Recover to initiate the recovery process.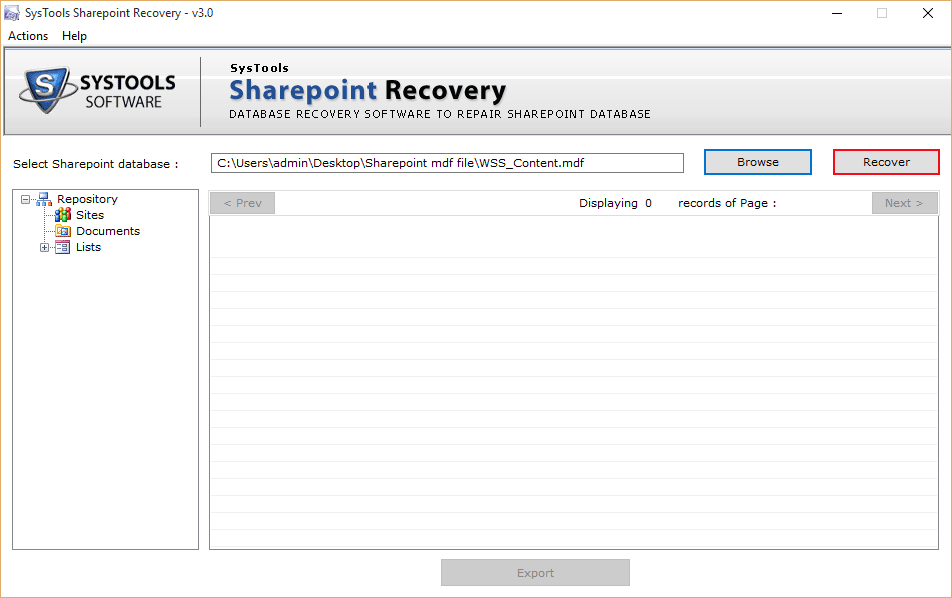
Step 5
Recovery process will be started with displaying status report.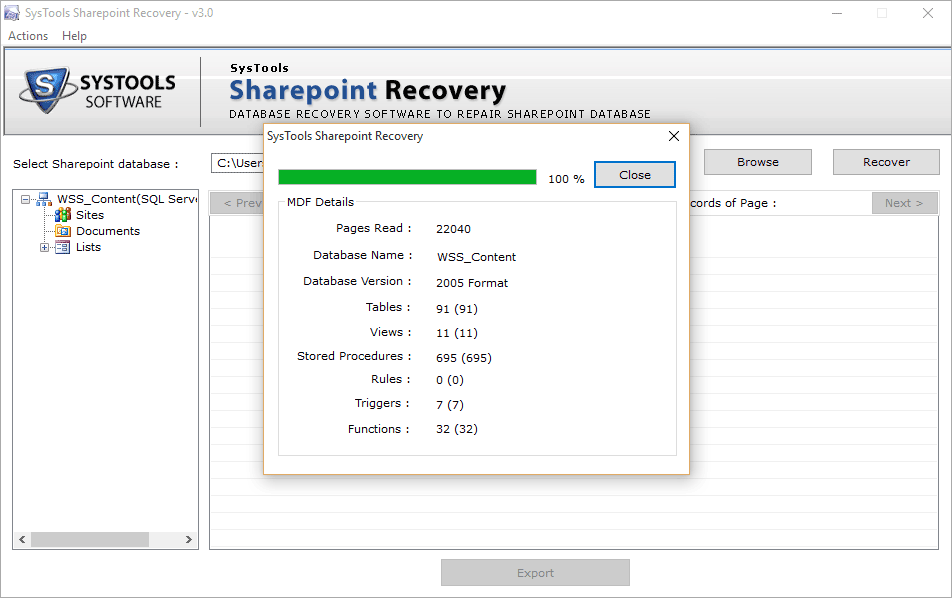
Step 6
Now, Click on Export to save the recovered file.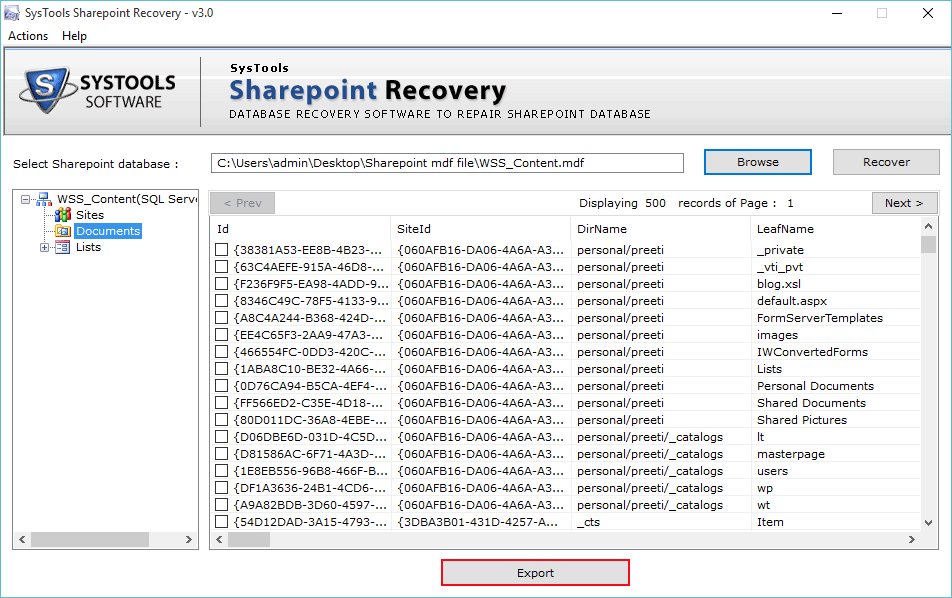
Step 7
In order to export SQL Server Database or SharePoint Documents, Enable the radio button accordingly.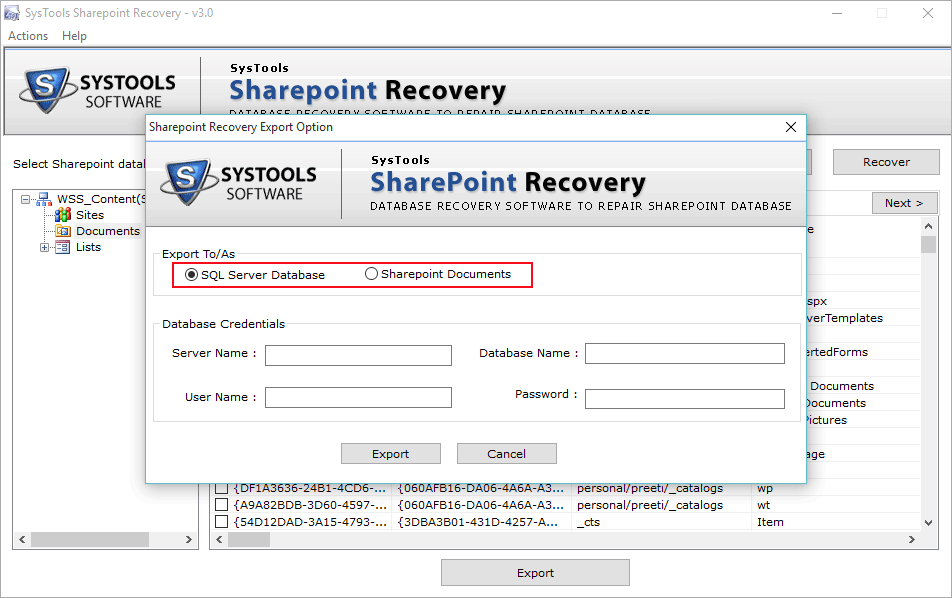
Step 8
Enter all the credentials of SQL Server like User Name, Server Name, Database Name, Password.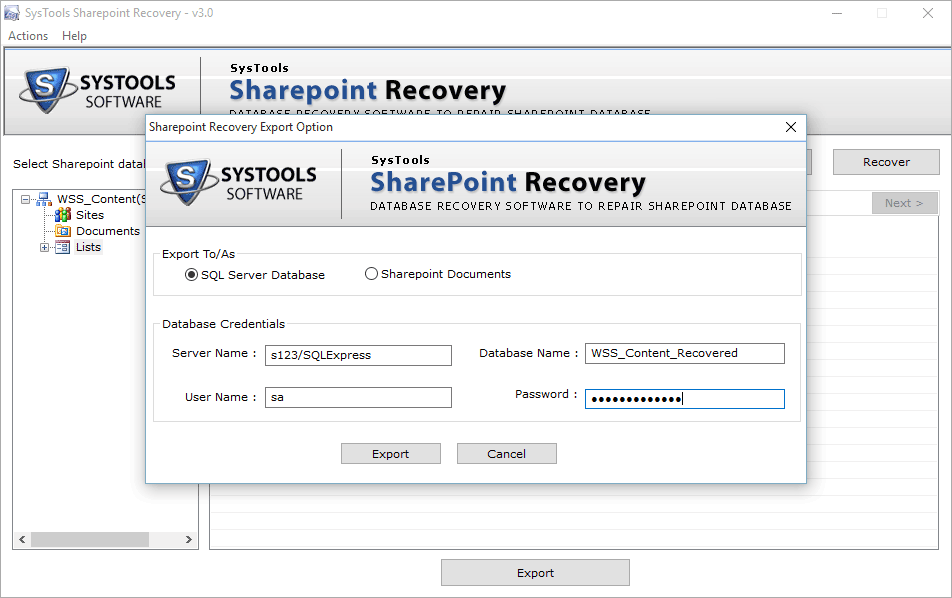
Step 9
A message box will pop up. Select Yes or No accordingly.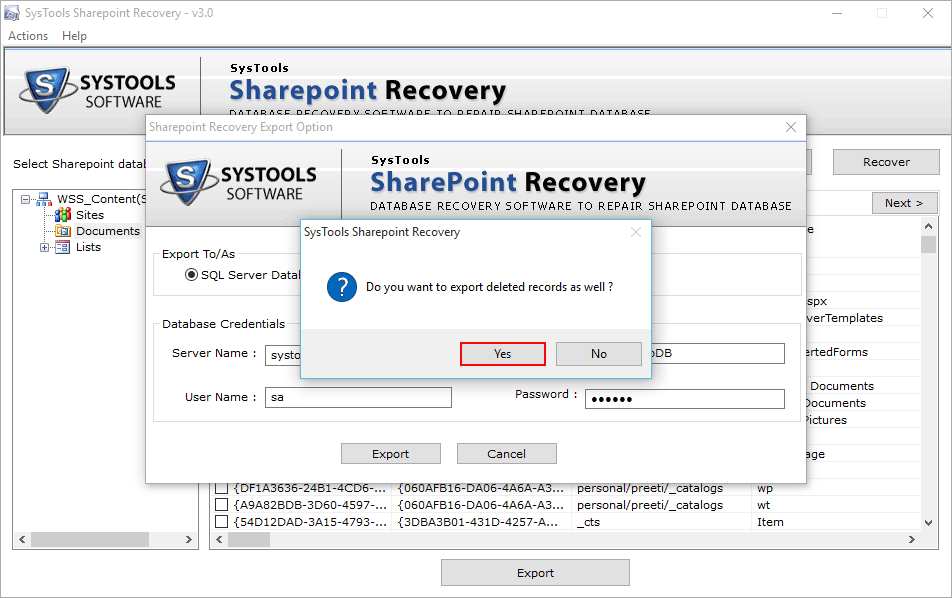
Step 10
Export progress report is also visible. 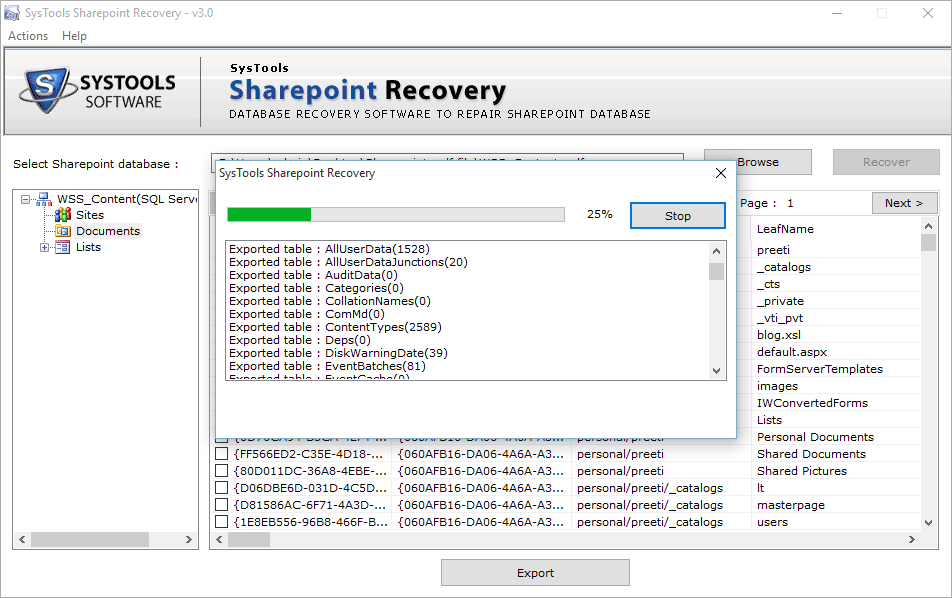
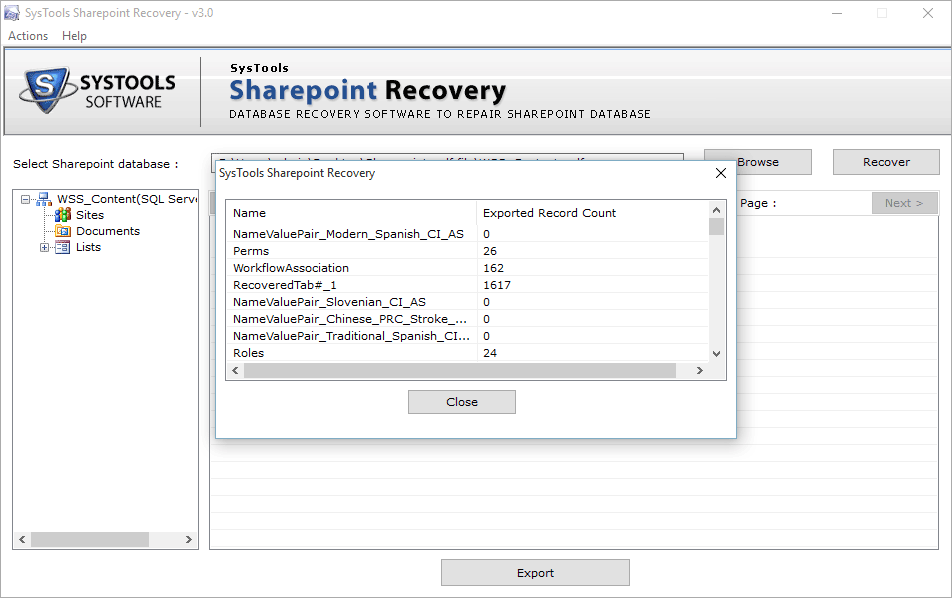
Step 11
Number of records and tables that are exported will appear.