Working Steps of Software in Online Mode
Hit the Open button to add file to the software.
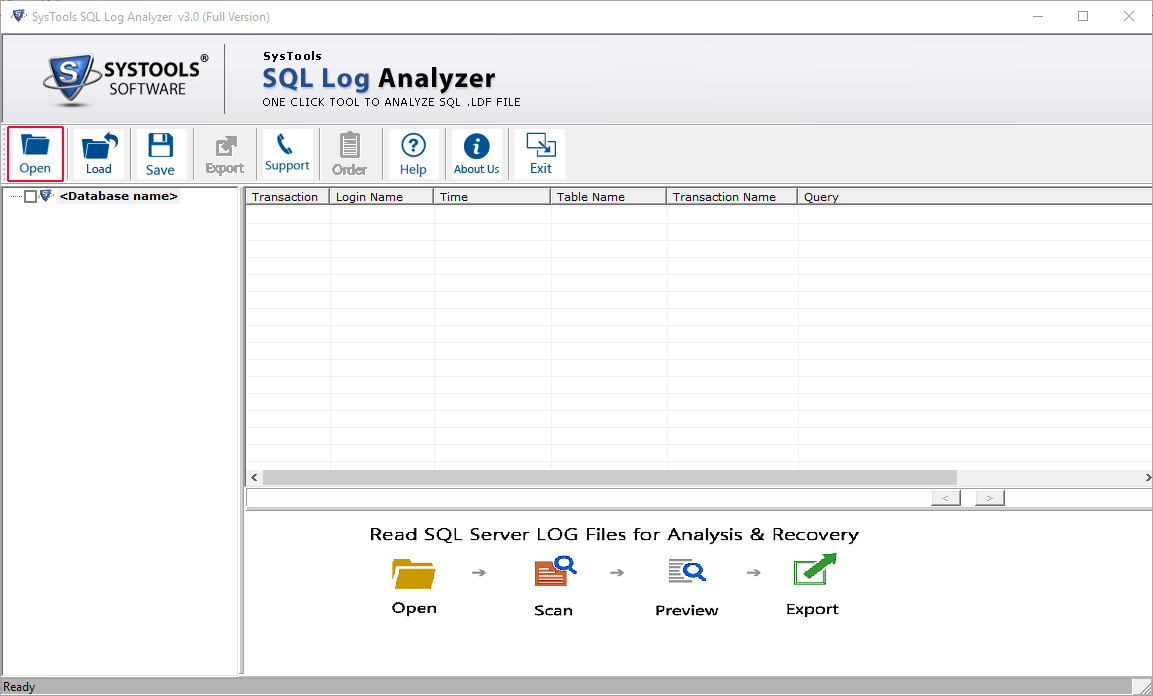
You will get two options for adding file
-- Online DB Option
-- Offline DB Option
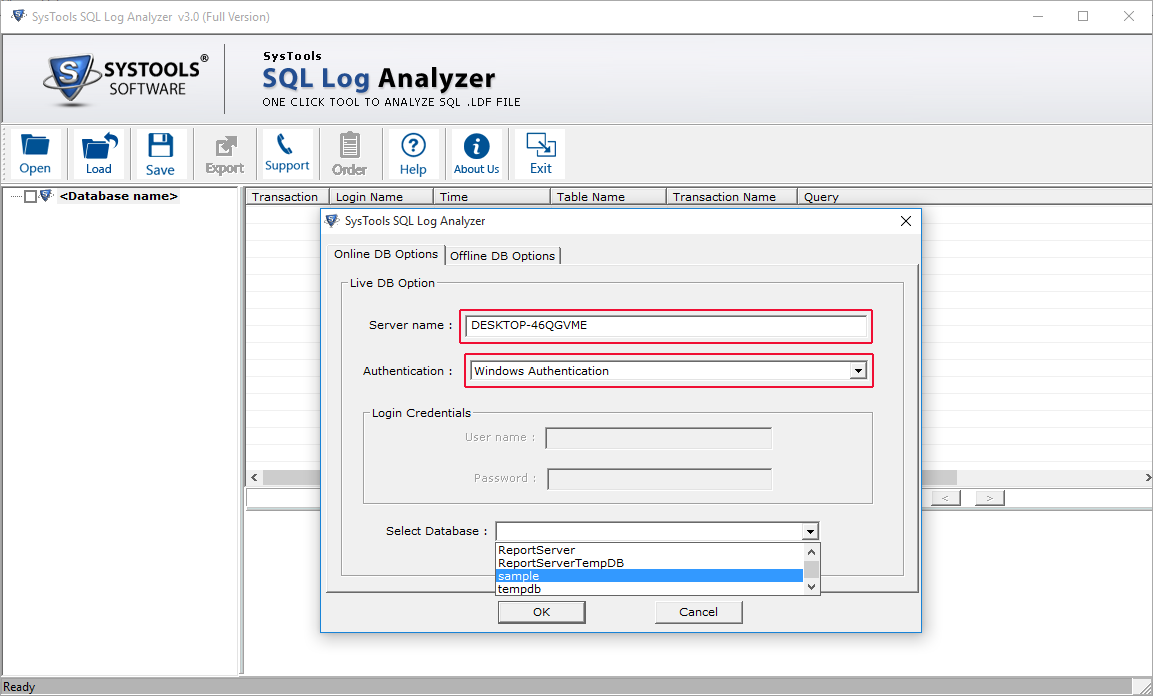
Choose Online DB Option, Enter Authentication, Server Name and Select Database. Click OK
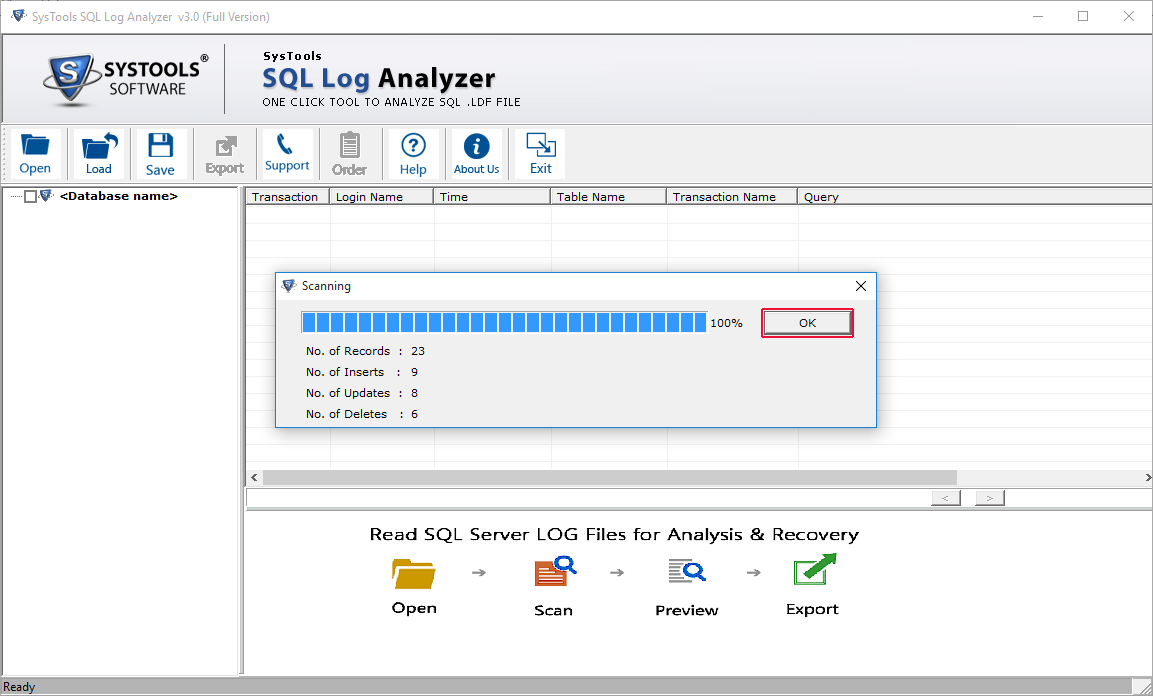
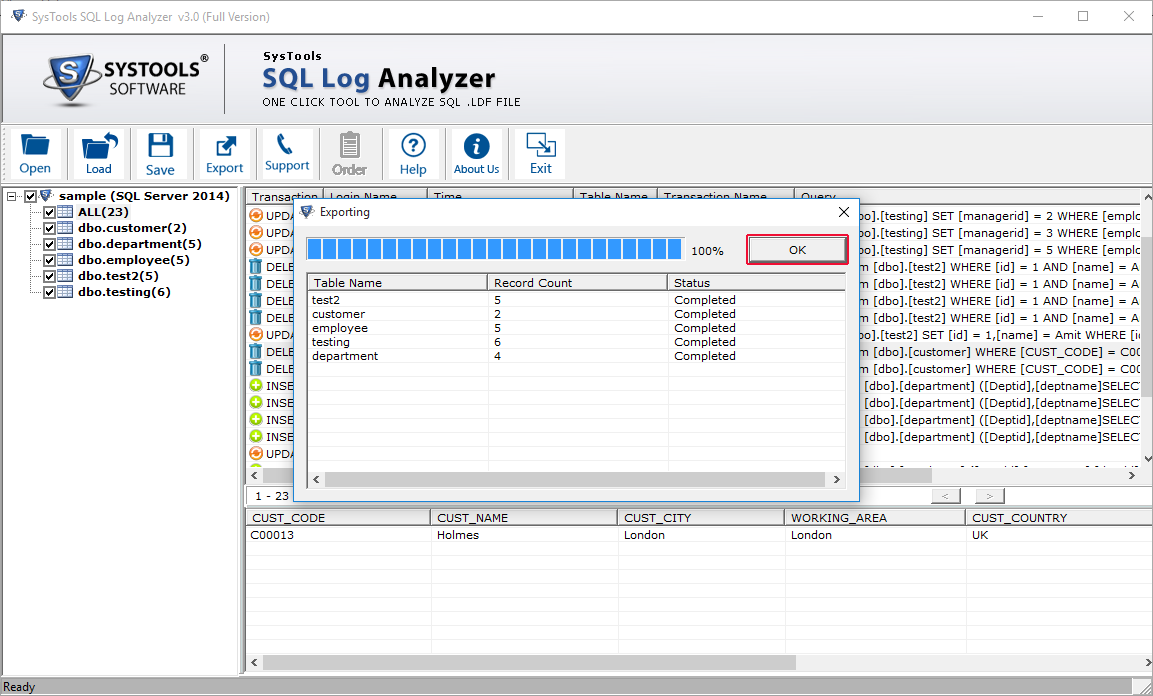
During scanning process, all details will be visible. Hit OK button
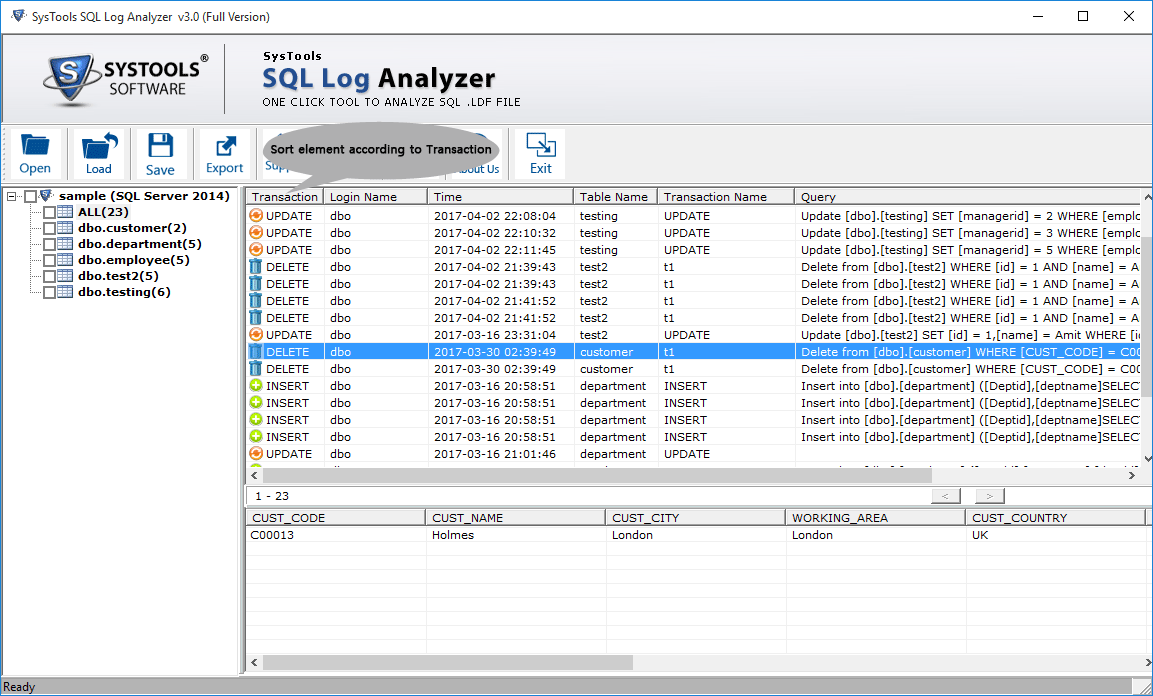
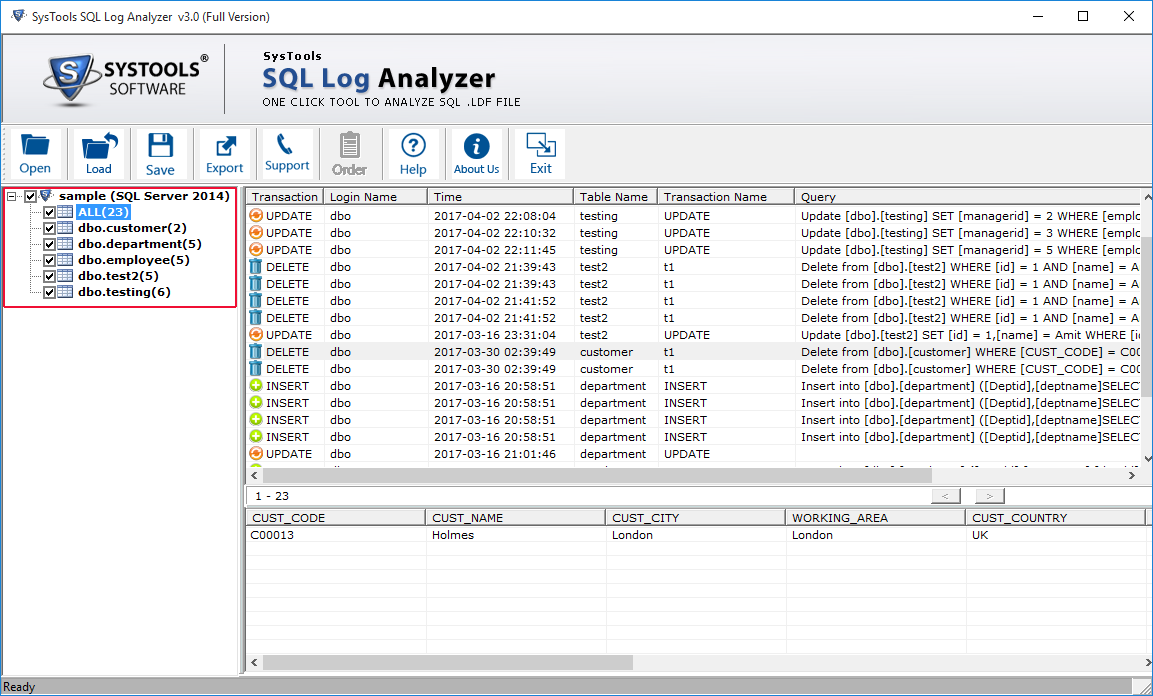
You can preview the details of transaction by clicking on transaction. The logs can be sorted according to their Transaction, Table Name, Time etc..
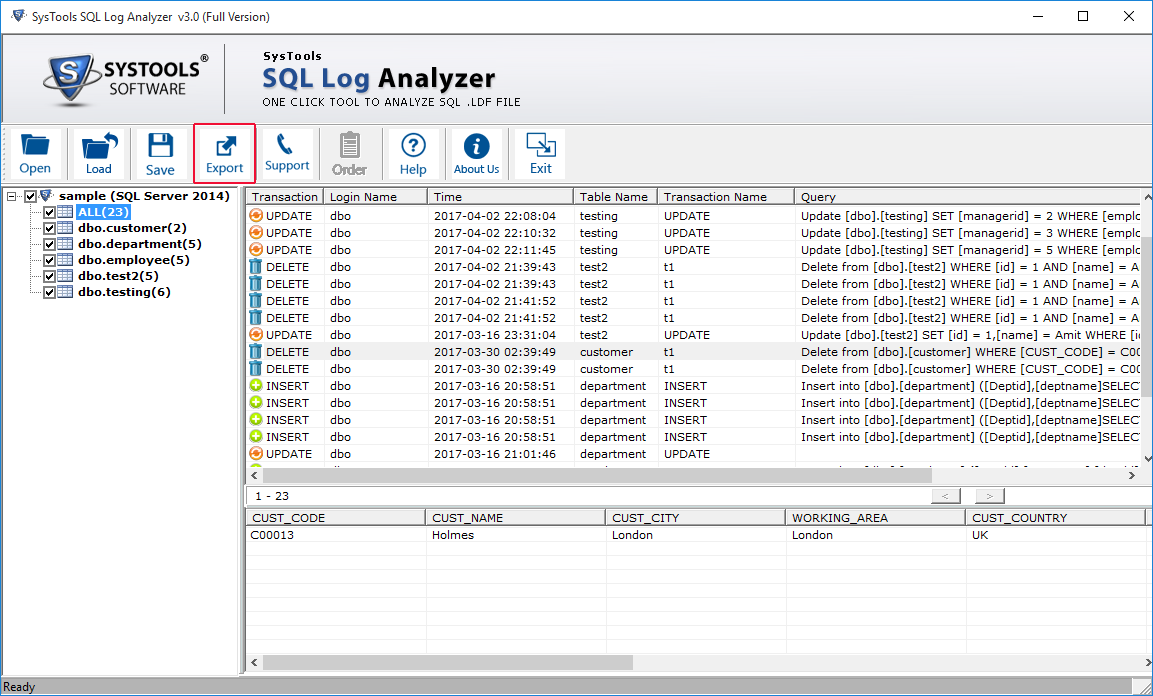
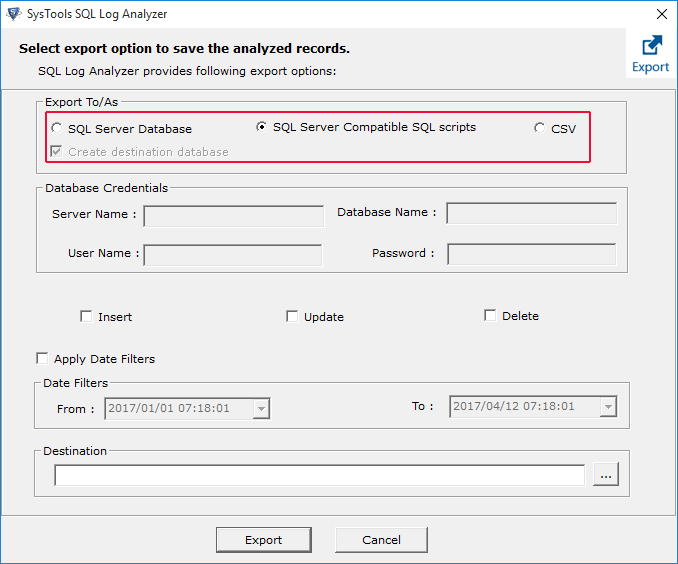
Hit Export button
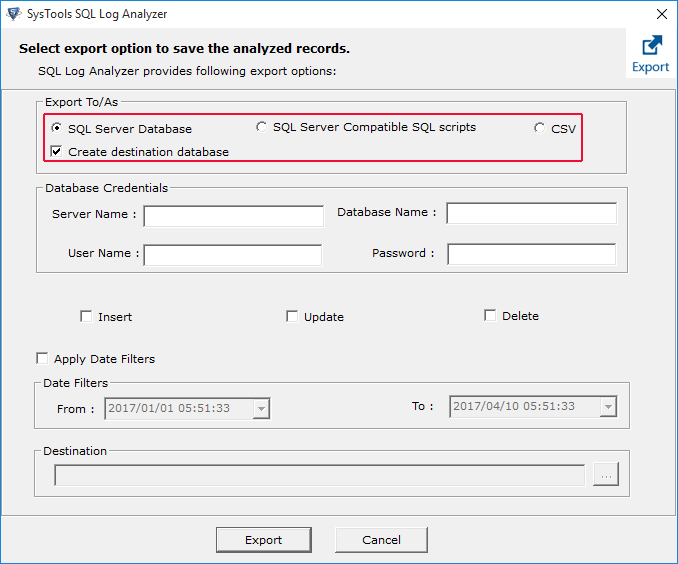
You can select multiple options for which you want to save the data. Enter Database Credentials
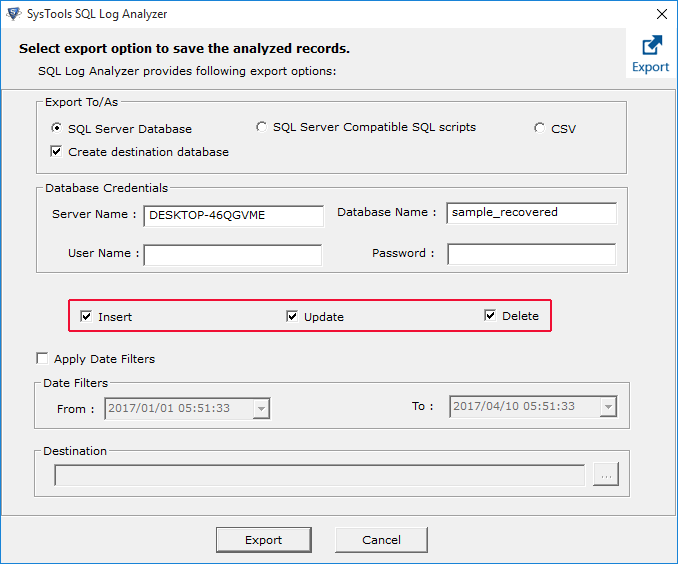
You can enable the type of transcation that you want to export.Date filters can also be applied. Hit the Export Button.
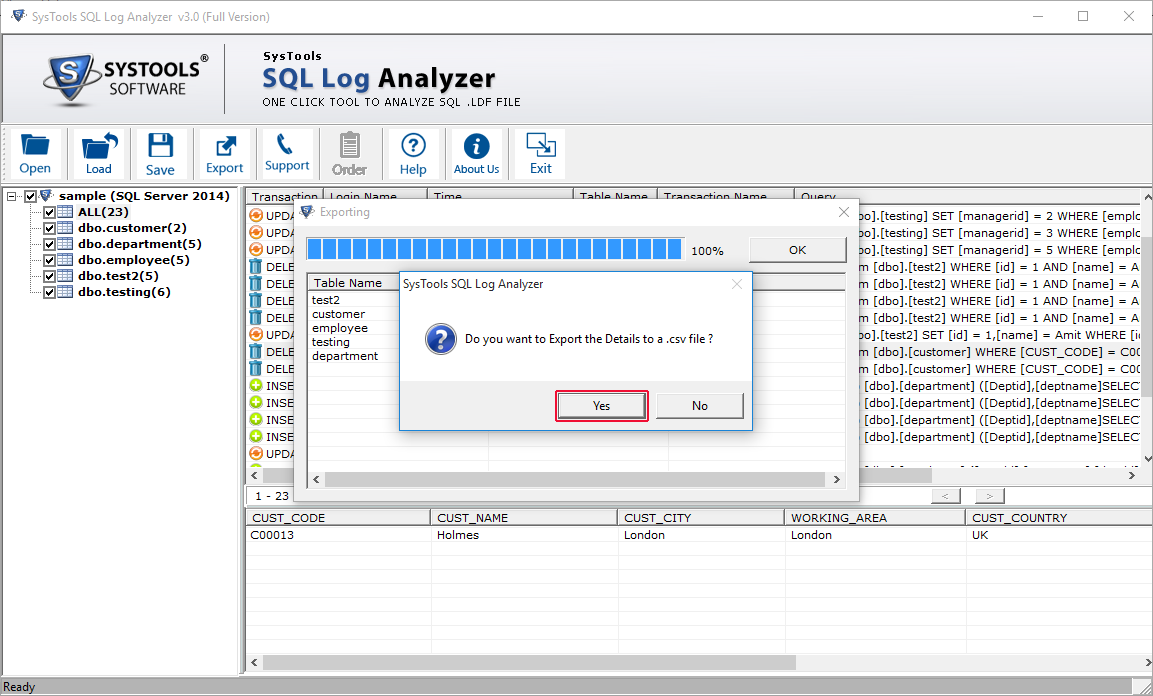
Check out the entire status report.
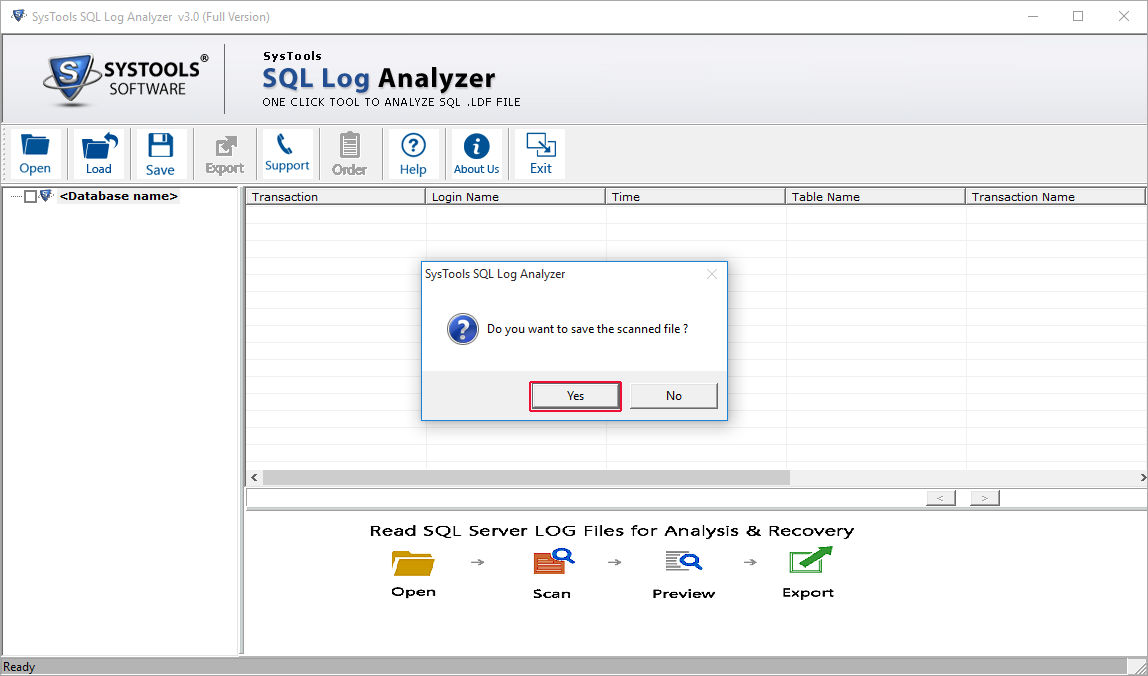
Click Yes, If you want to save the .csv file.

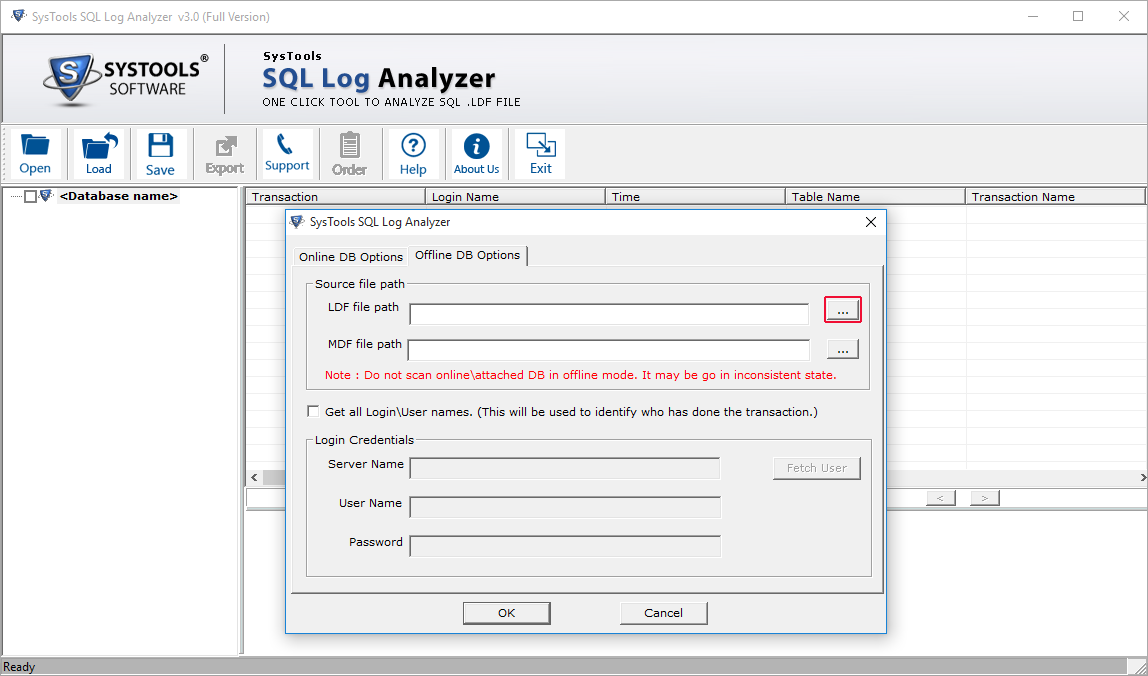
Working Steps of Software in Offline Mode
After selecting the Offline mode, Enter the required database credentials. Click on Fetch Userto get all the users of server.
After receiving a notification of completion of scanning process, You can save that in .str format.
Preview of all transaction logs will appear. You can choose the tables that you want to export. Click Export button.
You can choose from provided options. Date filters can also be applied. Hit the Export button.
Export process is also visible. Respond to the notification if you want to save the Export report in .csv format.