Explore the Steps involved in Entire Process
Step 1
Download, Install and launch the application. 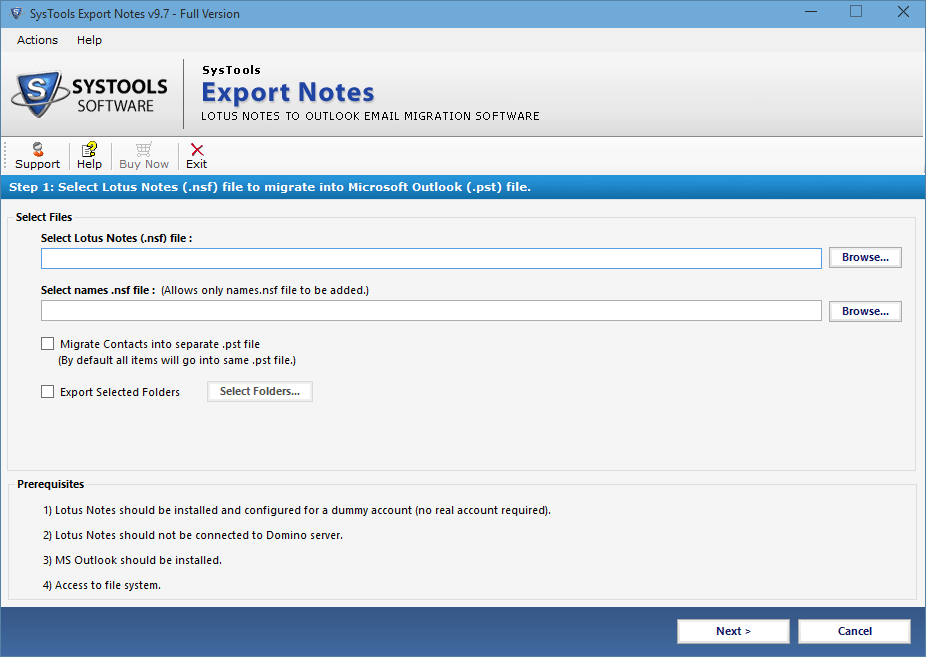
Step 2
Click on Browse button to select input file.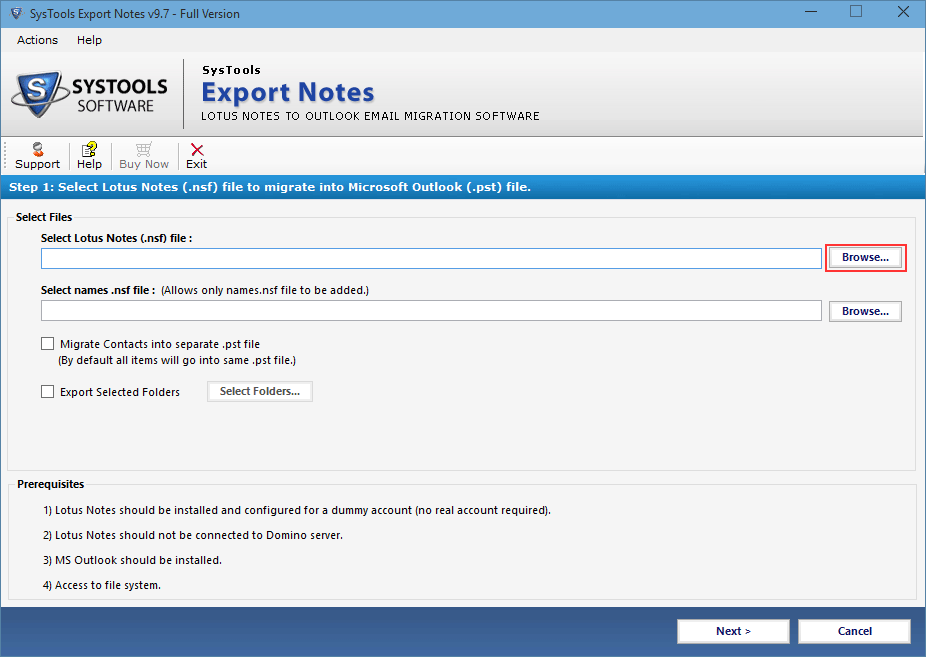
Step 3
Choose the desired file and click the Open button. 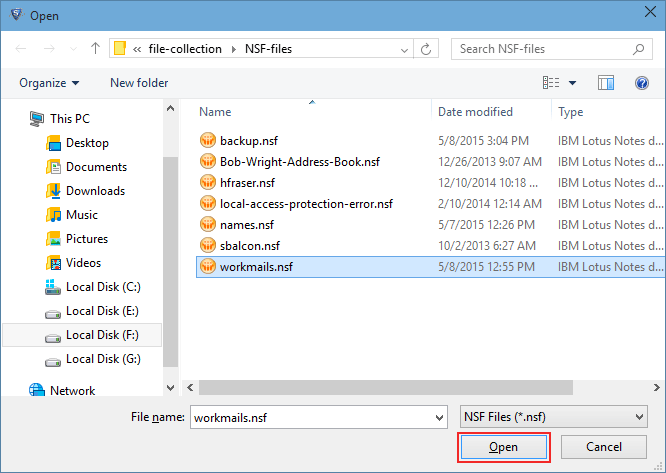
Step 4
If you want to migrate contacts (names.nsf) then select the second option. 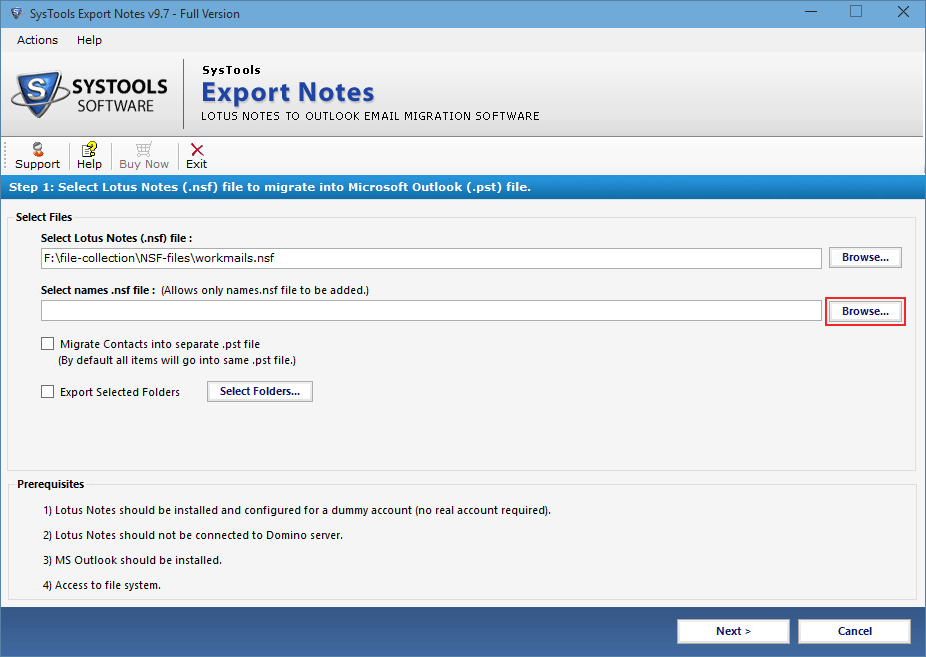
Step 5
Browse names.nsf file and click the Open button. 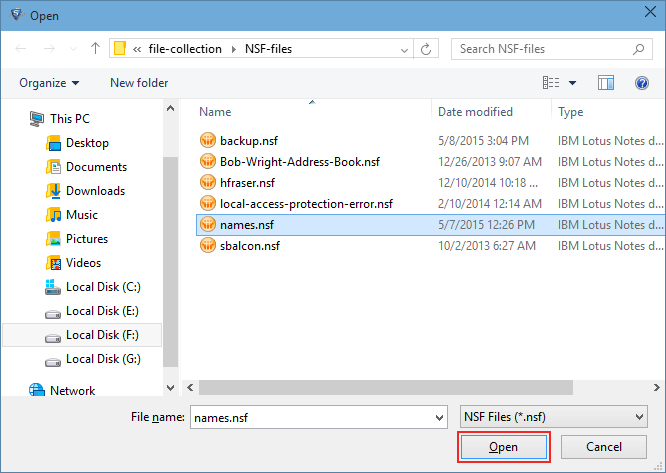
Step 6
To export the few selected folders, Check the "Export Selected Folder" option & click the Select Folder button.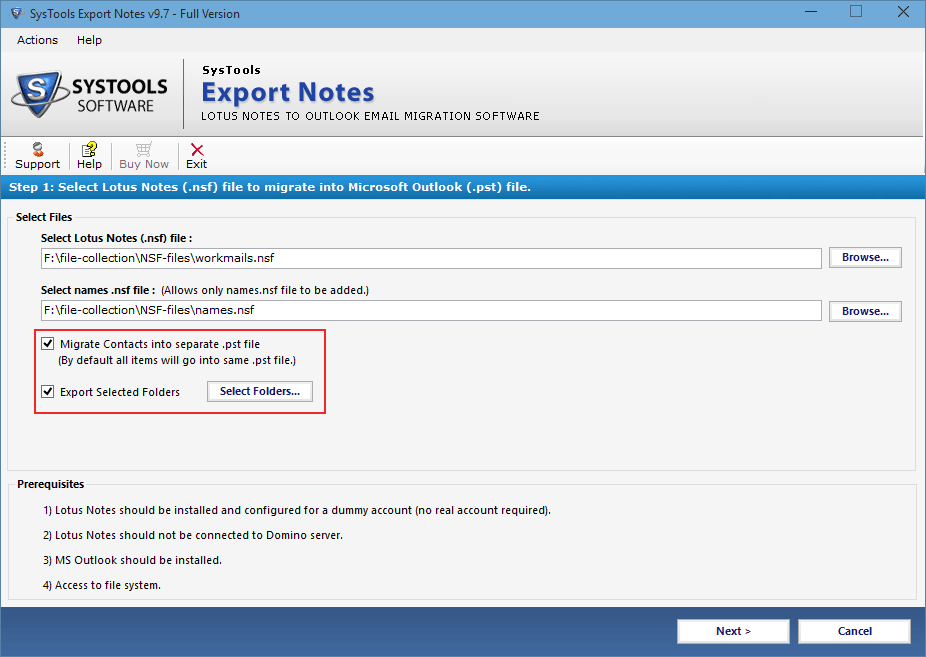
Step 7
Choose the essential folders to Export & click on Apply button. 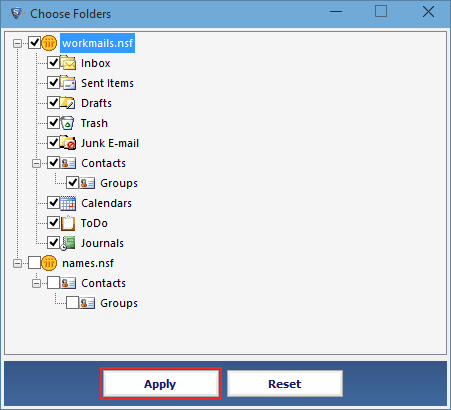
Step 8
The software will provide several choices for the migration. Select At least one option (mails, contacts, calendars, tasks and journals) from categories. 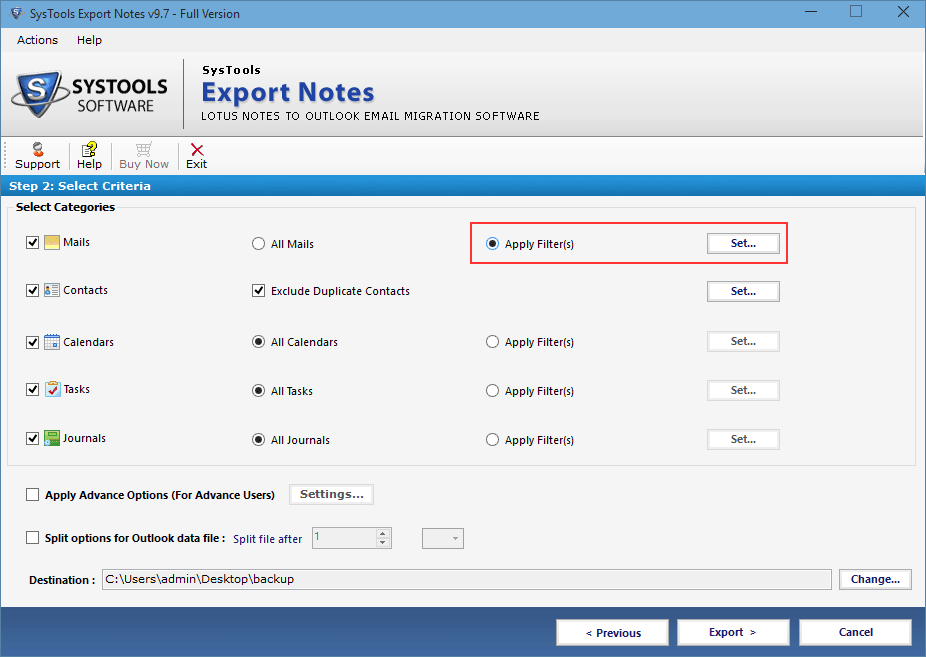
Step 9
Apply Email filter and calendar filter by selecting date range. 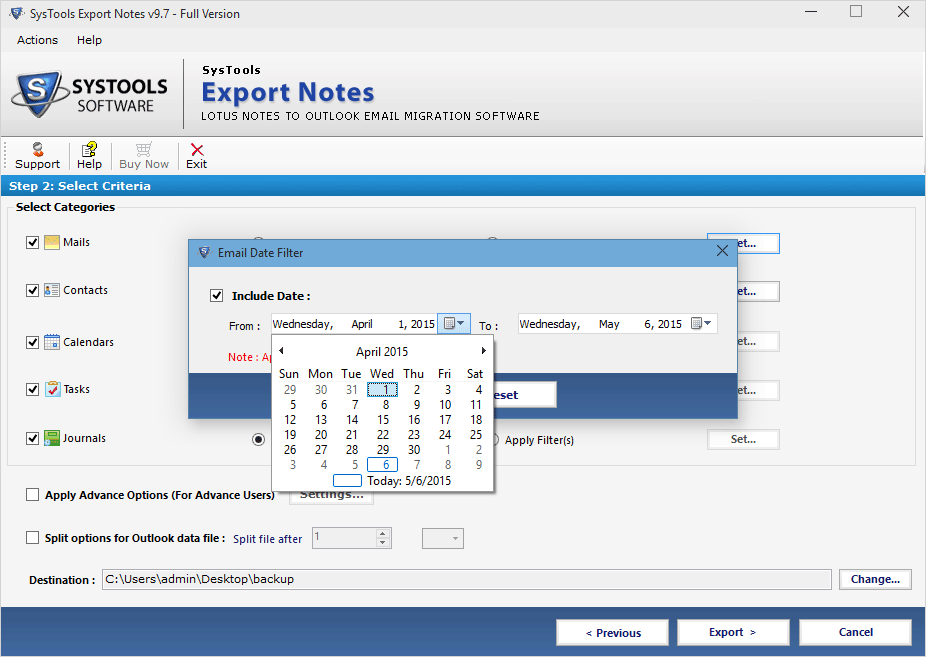
Step 10
You can exclude the duplicate contacts by selecting the option: "Exclude Duplicate Contacts" and click on "Set" button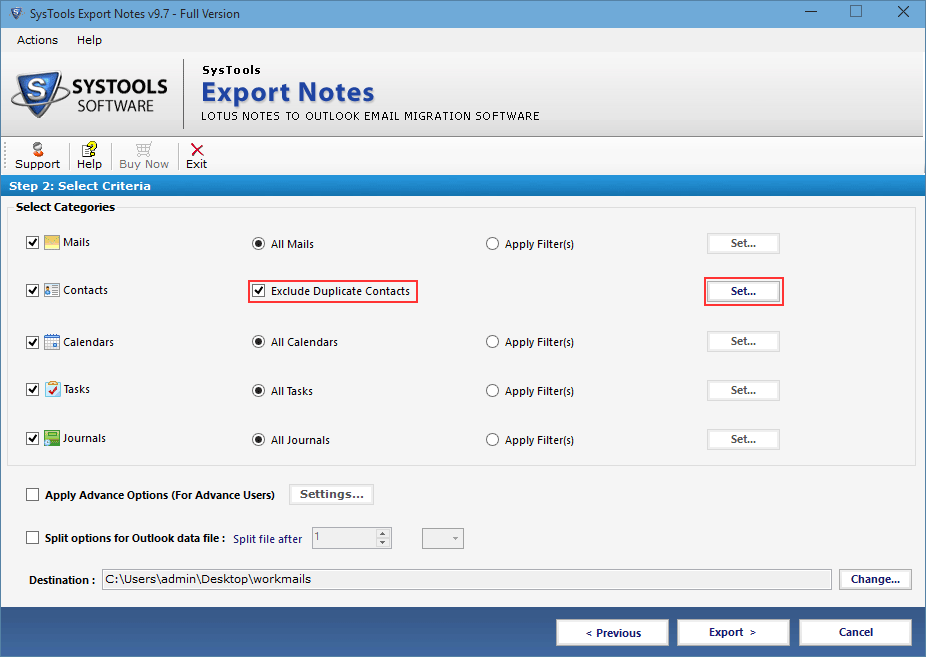
Step 11
Select required properties and click the Apply button.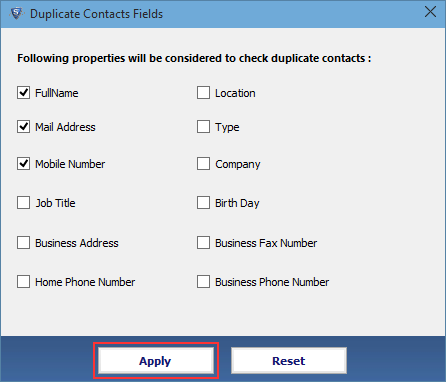
Step 12
Apply a few advance Options by clicking on the Settings button. 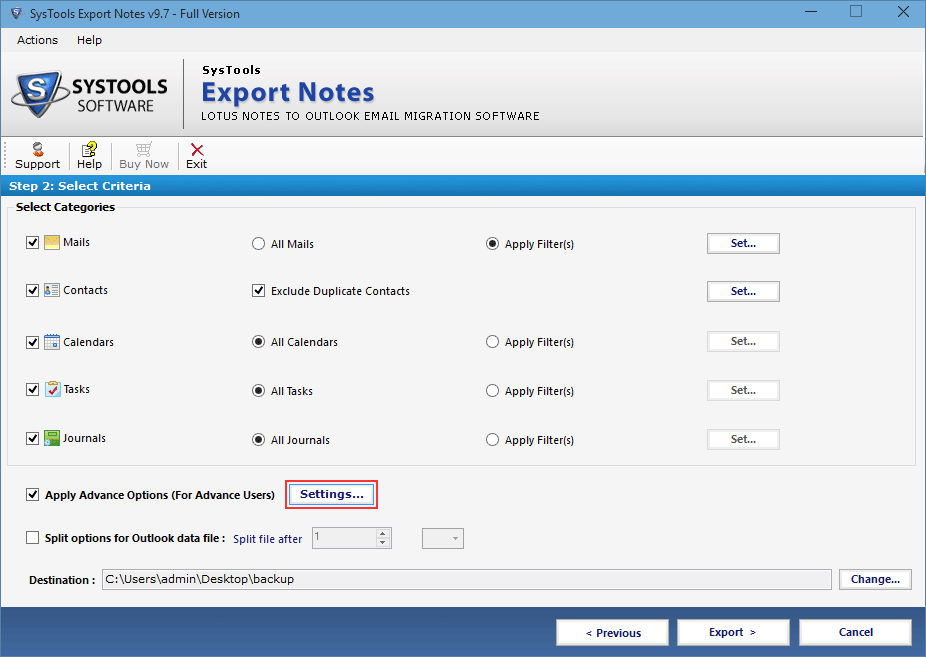
Step 13
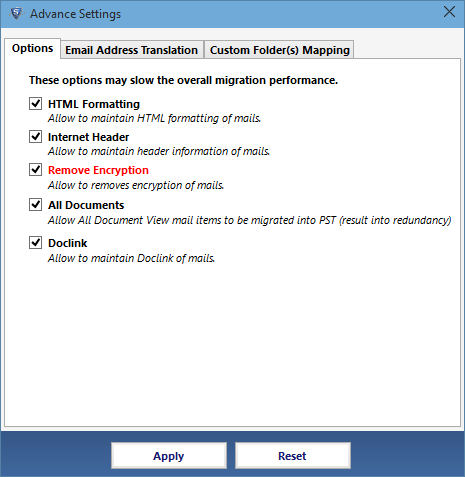
In options tab you will see a lot of options as shown below, select required functions
- HTML Formatting
- Internet Header
- Remove Encryption
- All Documents
Step 14
Jump to the second tab "Email Address Translation" to convert the canonical name into the Outlook SMTP format. 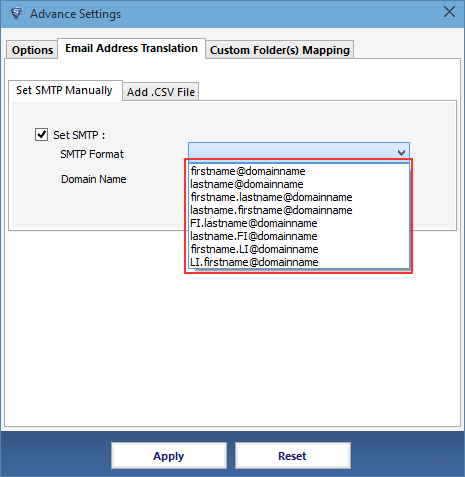
Step 15
Provide the domain name for the SMTP translation with respect to the canonical name.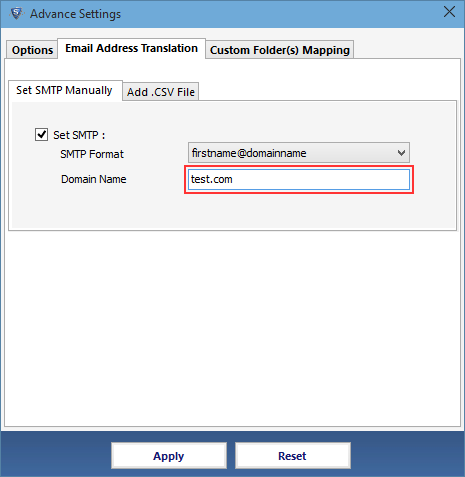
Step 16
Move to 3rd tab "Custom Folder(s) Mapping" to map the default folder with your Outlook default folder name.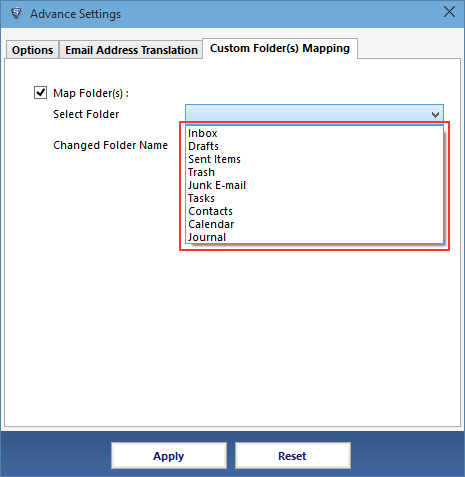
Step 17
Provide Changed Folder Name and click the Save button.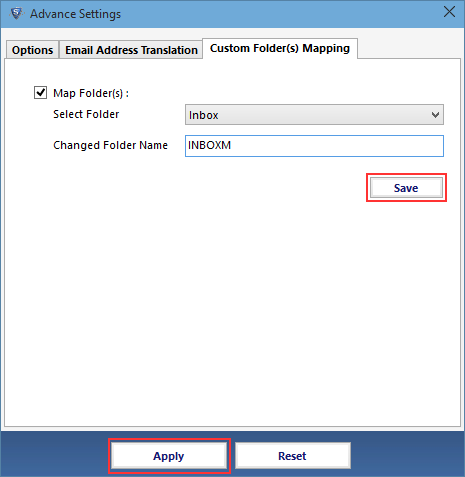
Step 18
Check "Split options for Outlook data file" and choose required size to split resulting PST file. Also click on the change button to provide destination path.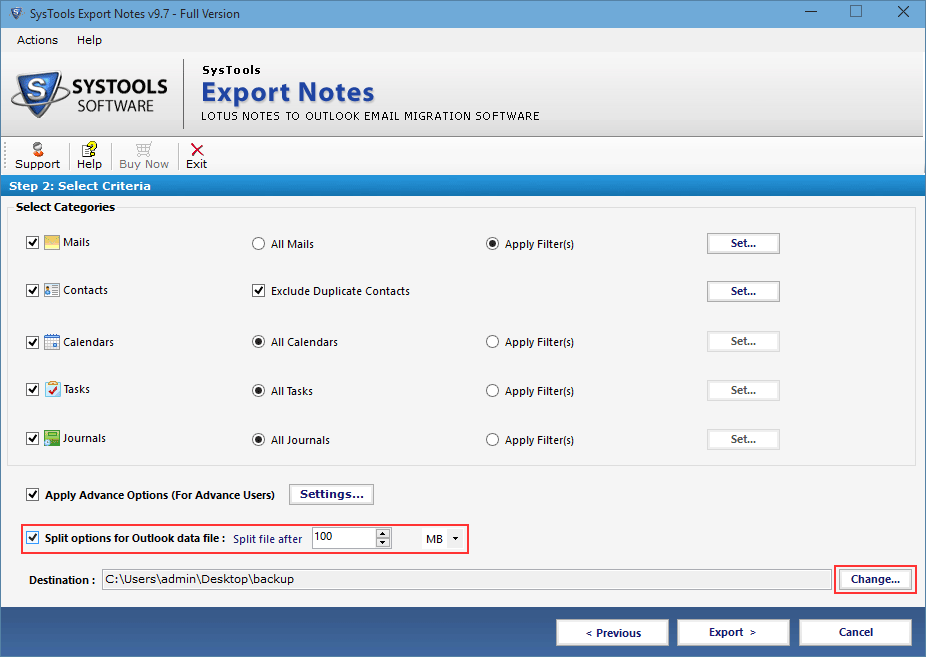
Step 19
Finally Click on the "Export"button to start the migration process.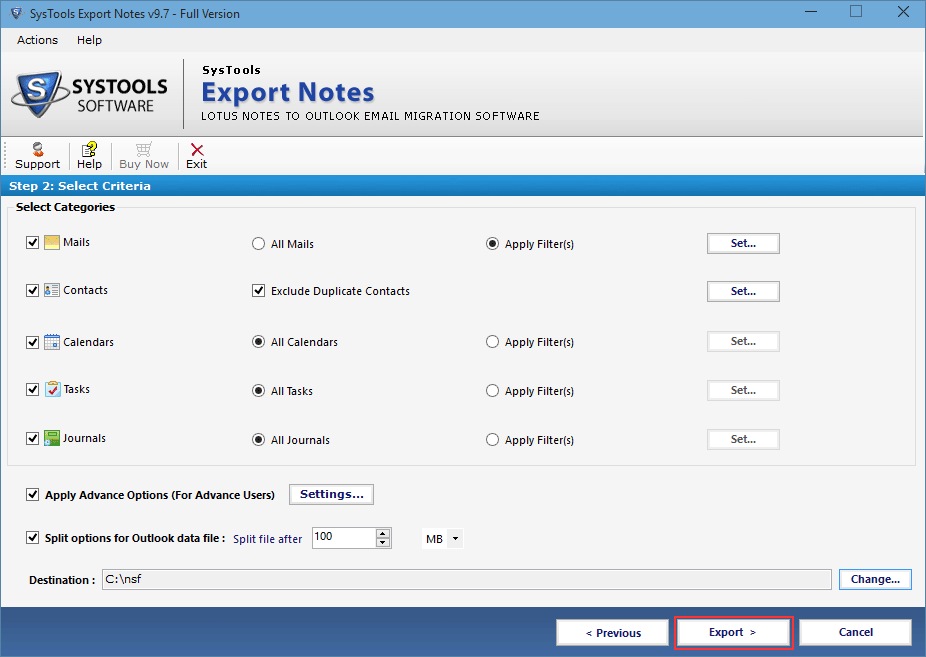
Step 20
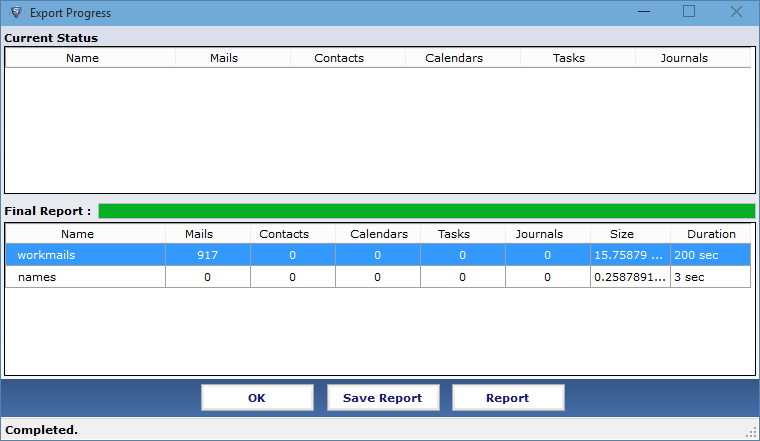
The tool will starts exportation of files, click the "Save Report" button. Enter the name for saving report in a csv file.